I began sketching and designing clothes when I was a Junior in high school, in an effort to keep from falling asleep while listening to the ever-enthralling diatribes in Mr. Dauner’s World History class. Turns out I managed to retain everything he was saying as long as I remembered what I was drawing at the time. My test results and grades were solid, validating that I was retaining the information, and he approved of this practice. I bet not everyone can say that they decided to pursue a career in fashion design due to their experience in World History Class. I applied to and was accepted into DAAP, one of the most prestigious programs in the country. I needed a sewing machine and my mother graciously gave me her 1983 Viking Husqvarna.

This machine was top of the line…in 1983. While it still functions incredibly well (things were just made better back in the day), it weighs an awful lot, boasts knobs that serve some purpose I have yet to discover and there are certain things that I wish it was capable of, but it simply isn’t. However, I’ve never had an easier time making a buttonhole…
Anywho, I asked for a new sewing machine for Christmas this past year. I wanted to be able to embroider things and do intricate stitching techniques, etc. for projects for my niece.
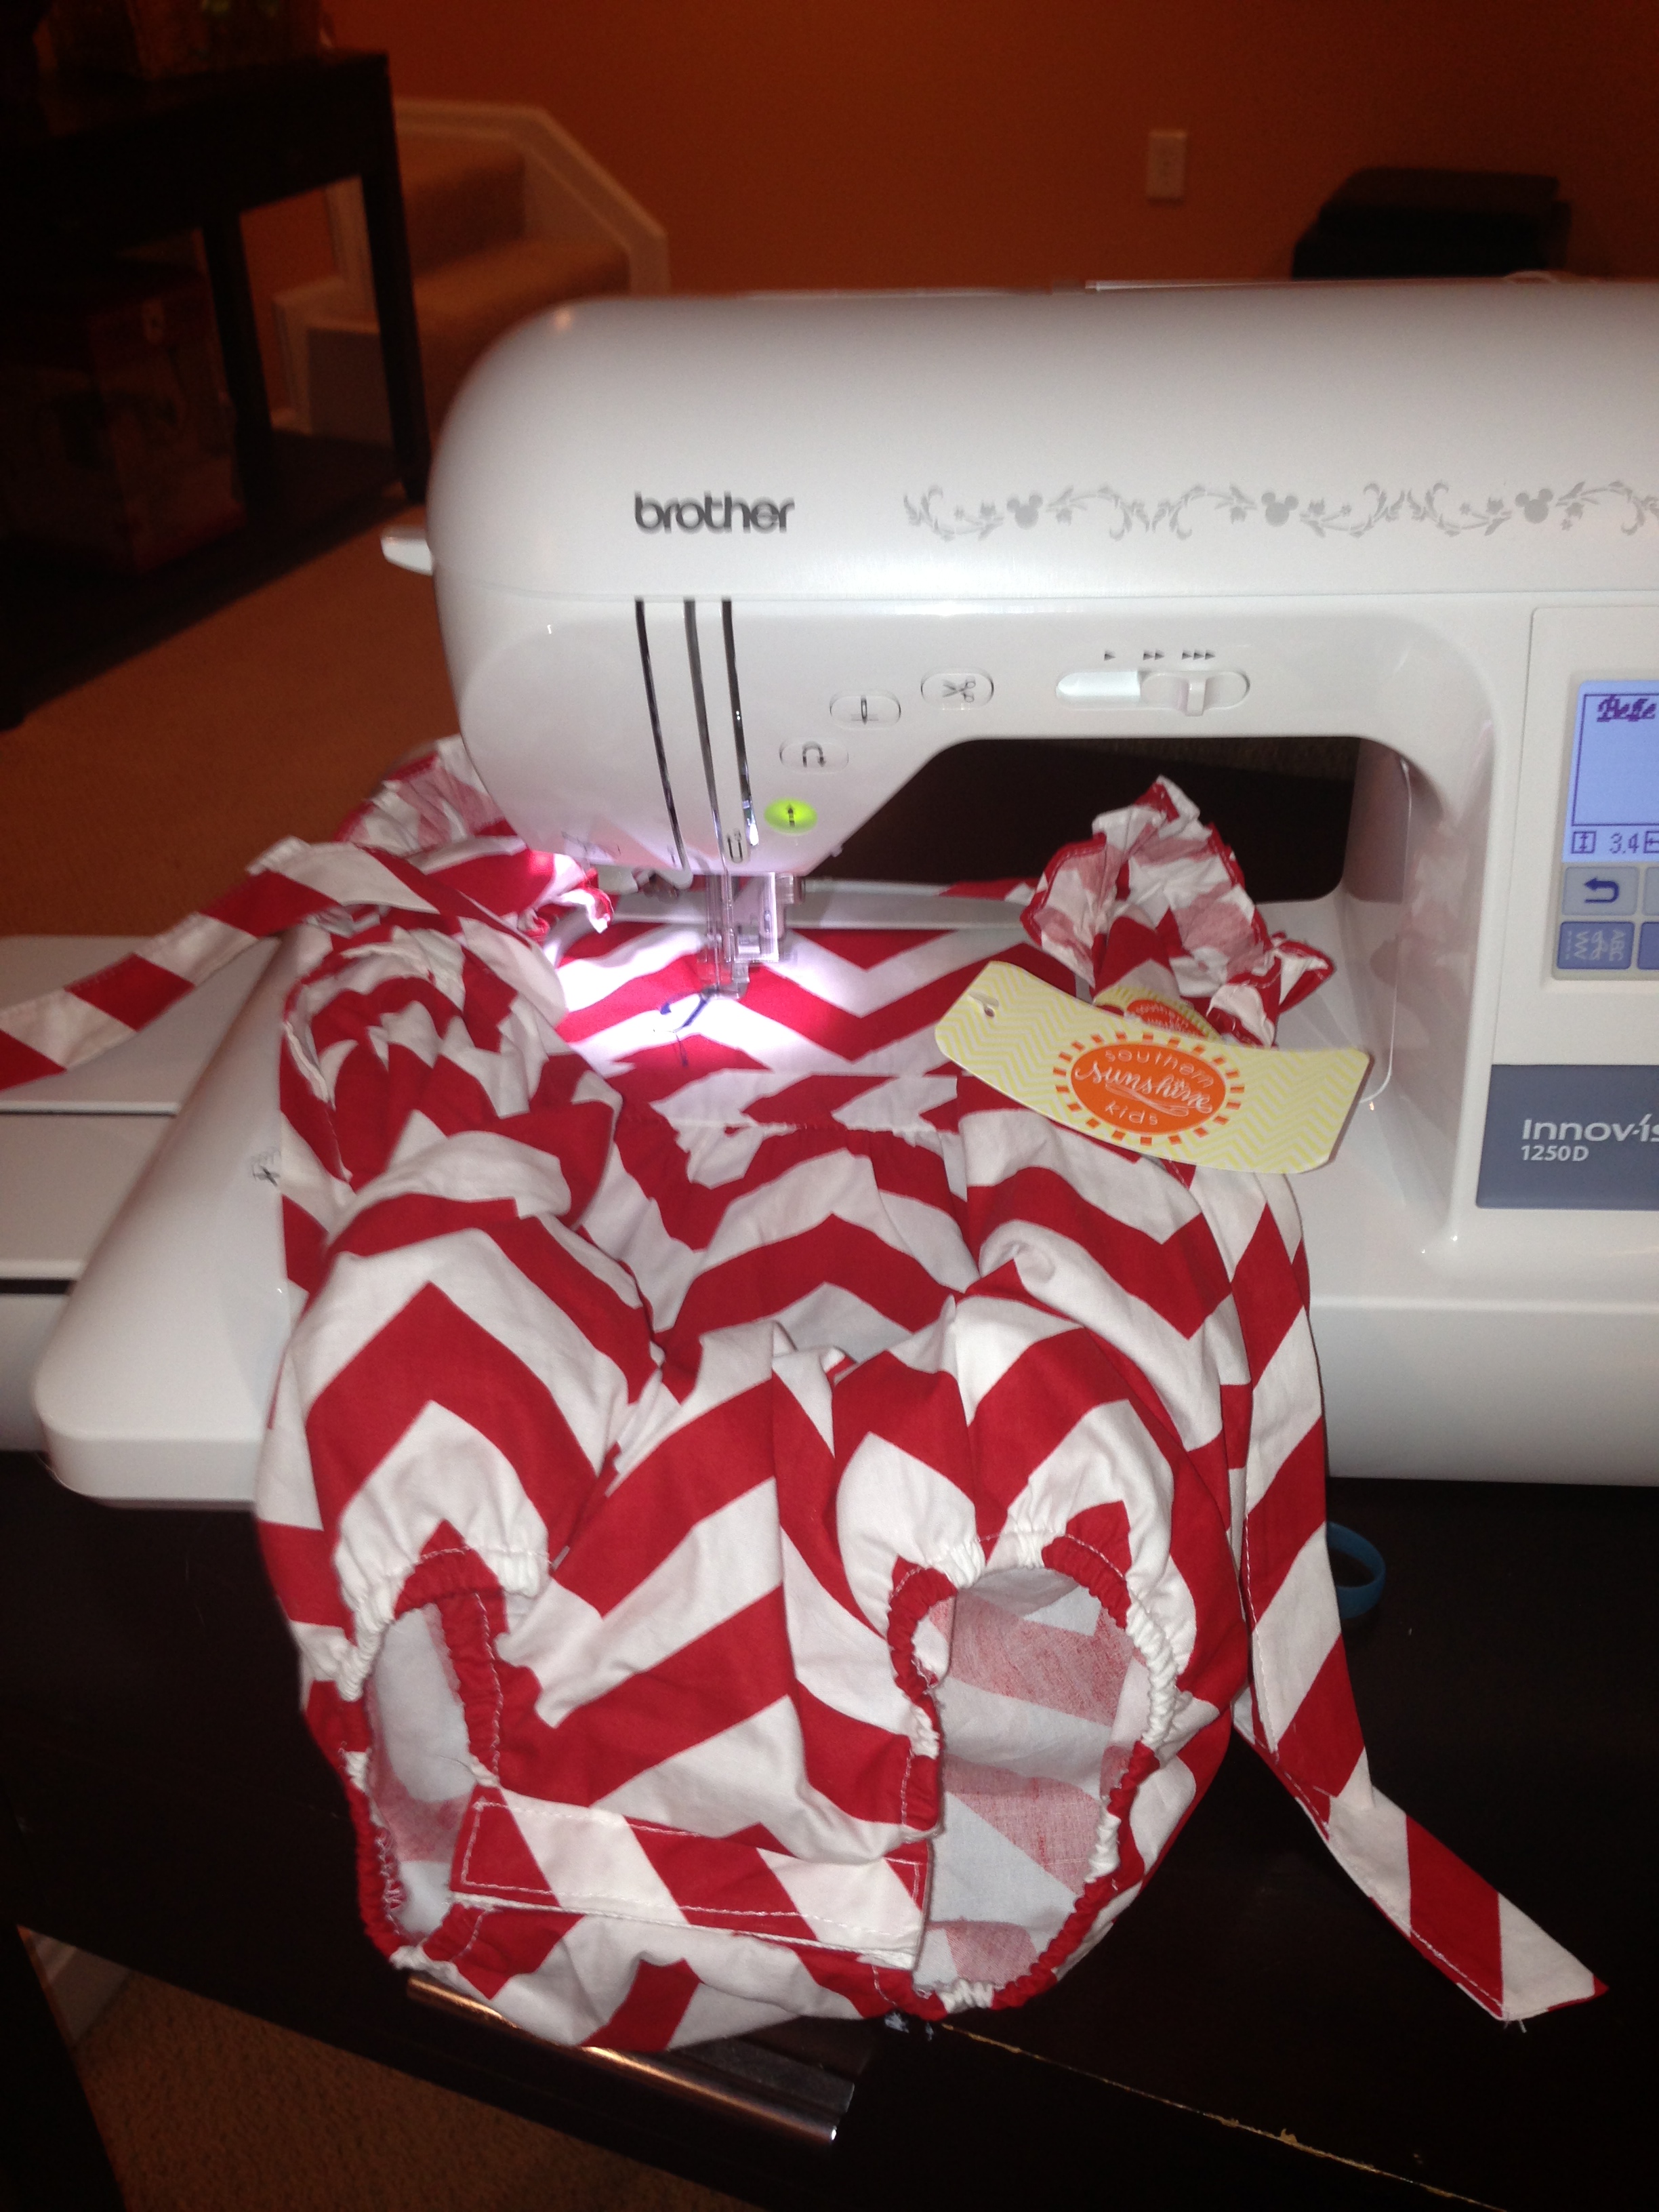
Ask and you shall receive. I opened up a mammoth of a box on Christmas morning. Introducing the Brother Innov-is 1250 D.

I took the contents out of the box and, overwhelmed by the magnitude of this thing and allllll the stuff that came with it, put the cover over it and didn’t touch it again for a month.

![brother-innov-is-1250-brother-nv1250--[2]-1468-p](https://learningtohitthecurve.com/wp-content/uploads/2013/05/brother-innov-is-1250-brother-nv1250-2-1468-p.jpg)
My aunts kept asking me if I had tried to figure it out yet and I would reluctantly reply, “No…but I will.” Finally, Aunt Tessie left me no option, but to sit down and do it.
Challenge #9:
“Get the machine out, read the owner’s manual and sew. I want you to complete both a sewing project and an embroidery project. I know you have a wonderful sense of style so you will be able to come up with some great ideas as you read the manual. Put your talents to good use and get started.” – from Aunt Tessie.
I have been blessed with three fabulous aunts on my father’s side. We joke about which one is my favorite, but truthfully, it’d be impossible to choose. They encourage to me to chase my dreams, try new things and never give up. They are my biggest cheerleaders and could not possibly have any more faith in me than they already do. Aunt Tessie, knowing I’m trying to find my true calling, had me circle back around to something I once loved so much.
In case you hadn’t picked up on this, I did not, in fact, continue my career in fashion design. Turns out I enjoyed designing as it was an expression of my own creativity and when the professors tried to tell me how to change it and do it like them, I rebelled and did not in fact do as they said. Much to the chagrin of my fellow students, I managed to get steady grades until I decided it just wasn’t the degree I wanted and switched to Communication.
I have however continued to sew. I have made countless items including my French Kiss Halloween costume (that won several contests and the adoration of many), Natalie’s Chiquita Banana Sleeves, a few things for my niece and taken in dozens of tops and pants from when I lost weight. I was using that old viking machine for all of those projects and have continued to do so, even though this new sewing machine was sitting in my basement, untouched. This week, I decided to give it a go.
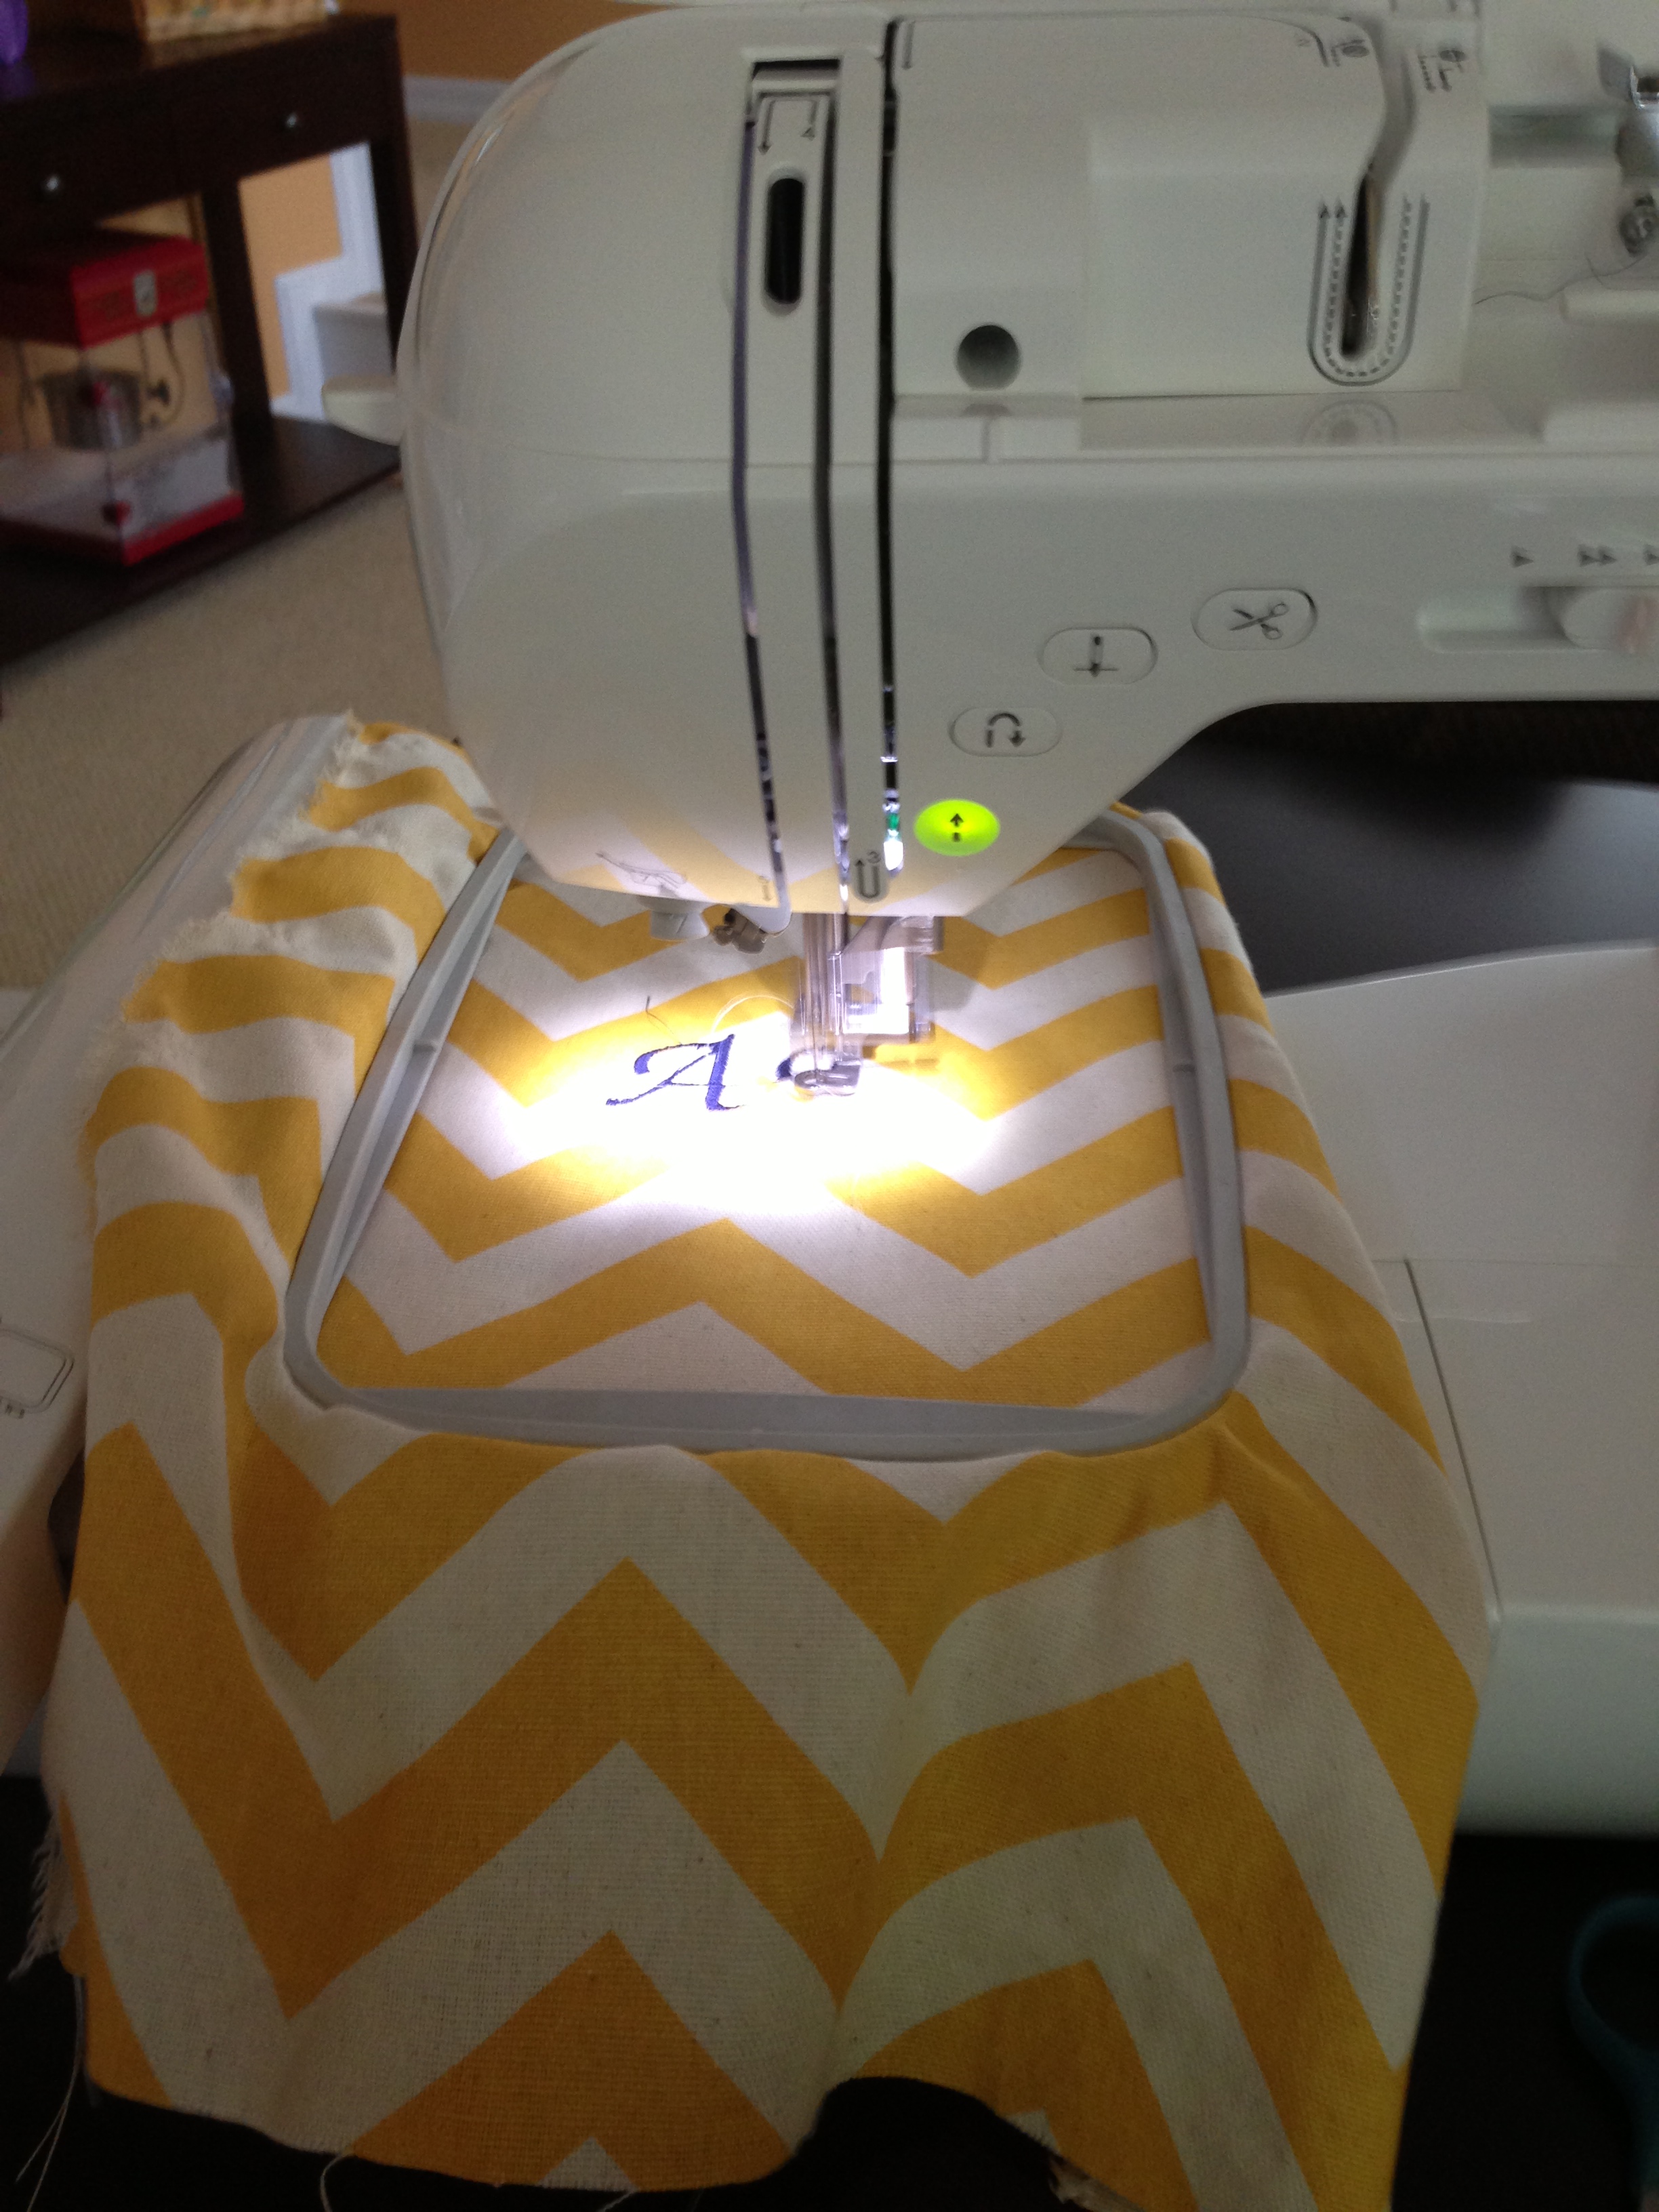
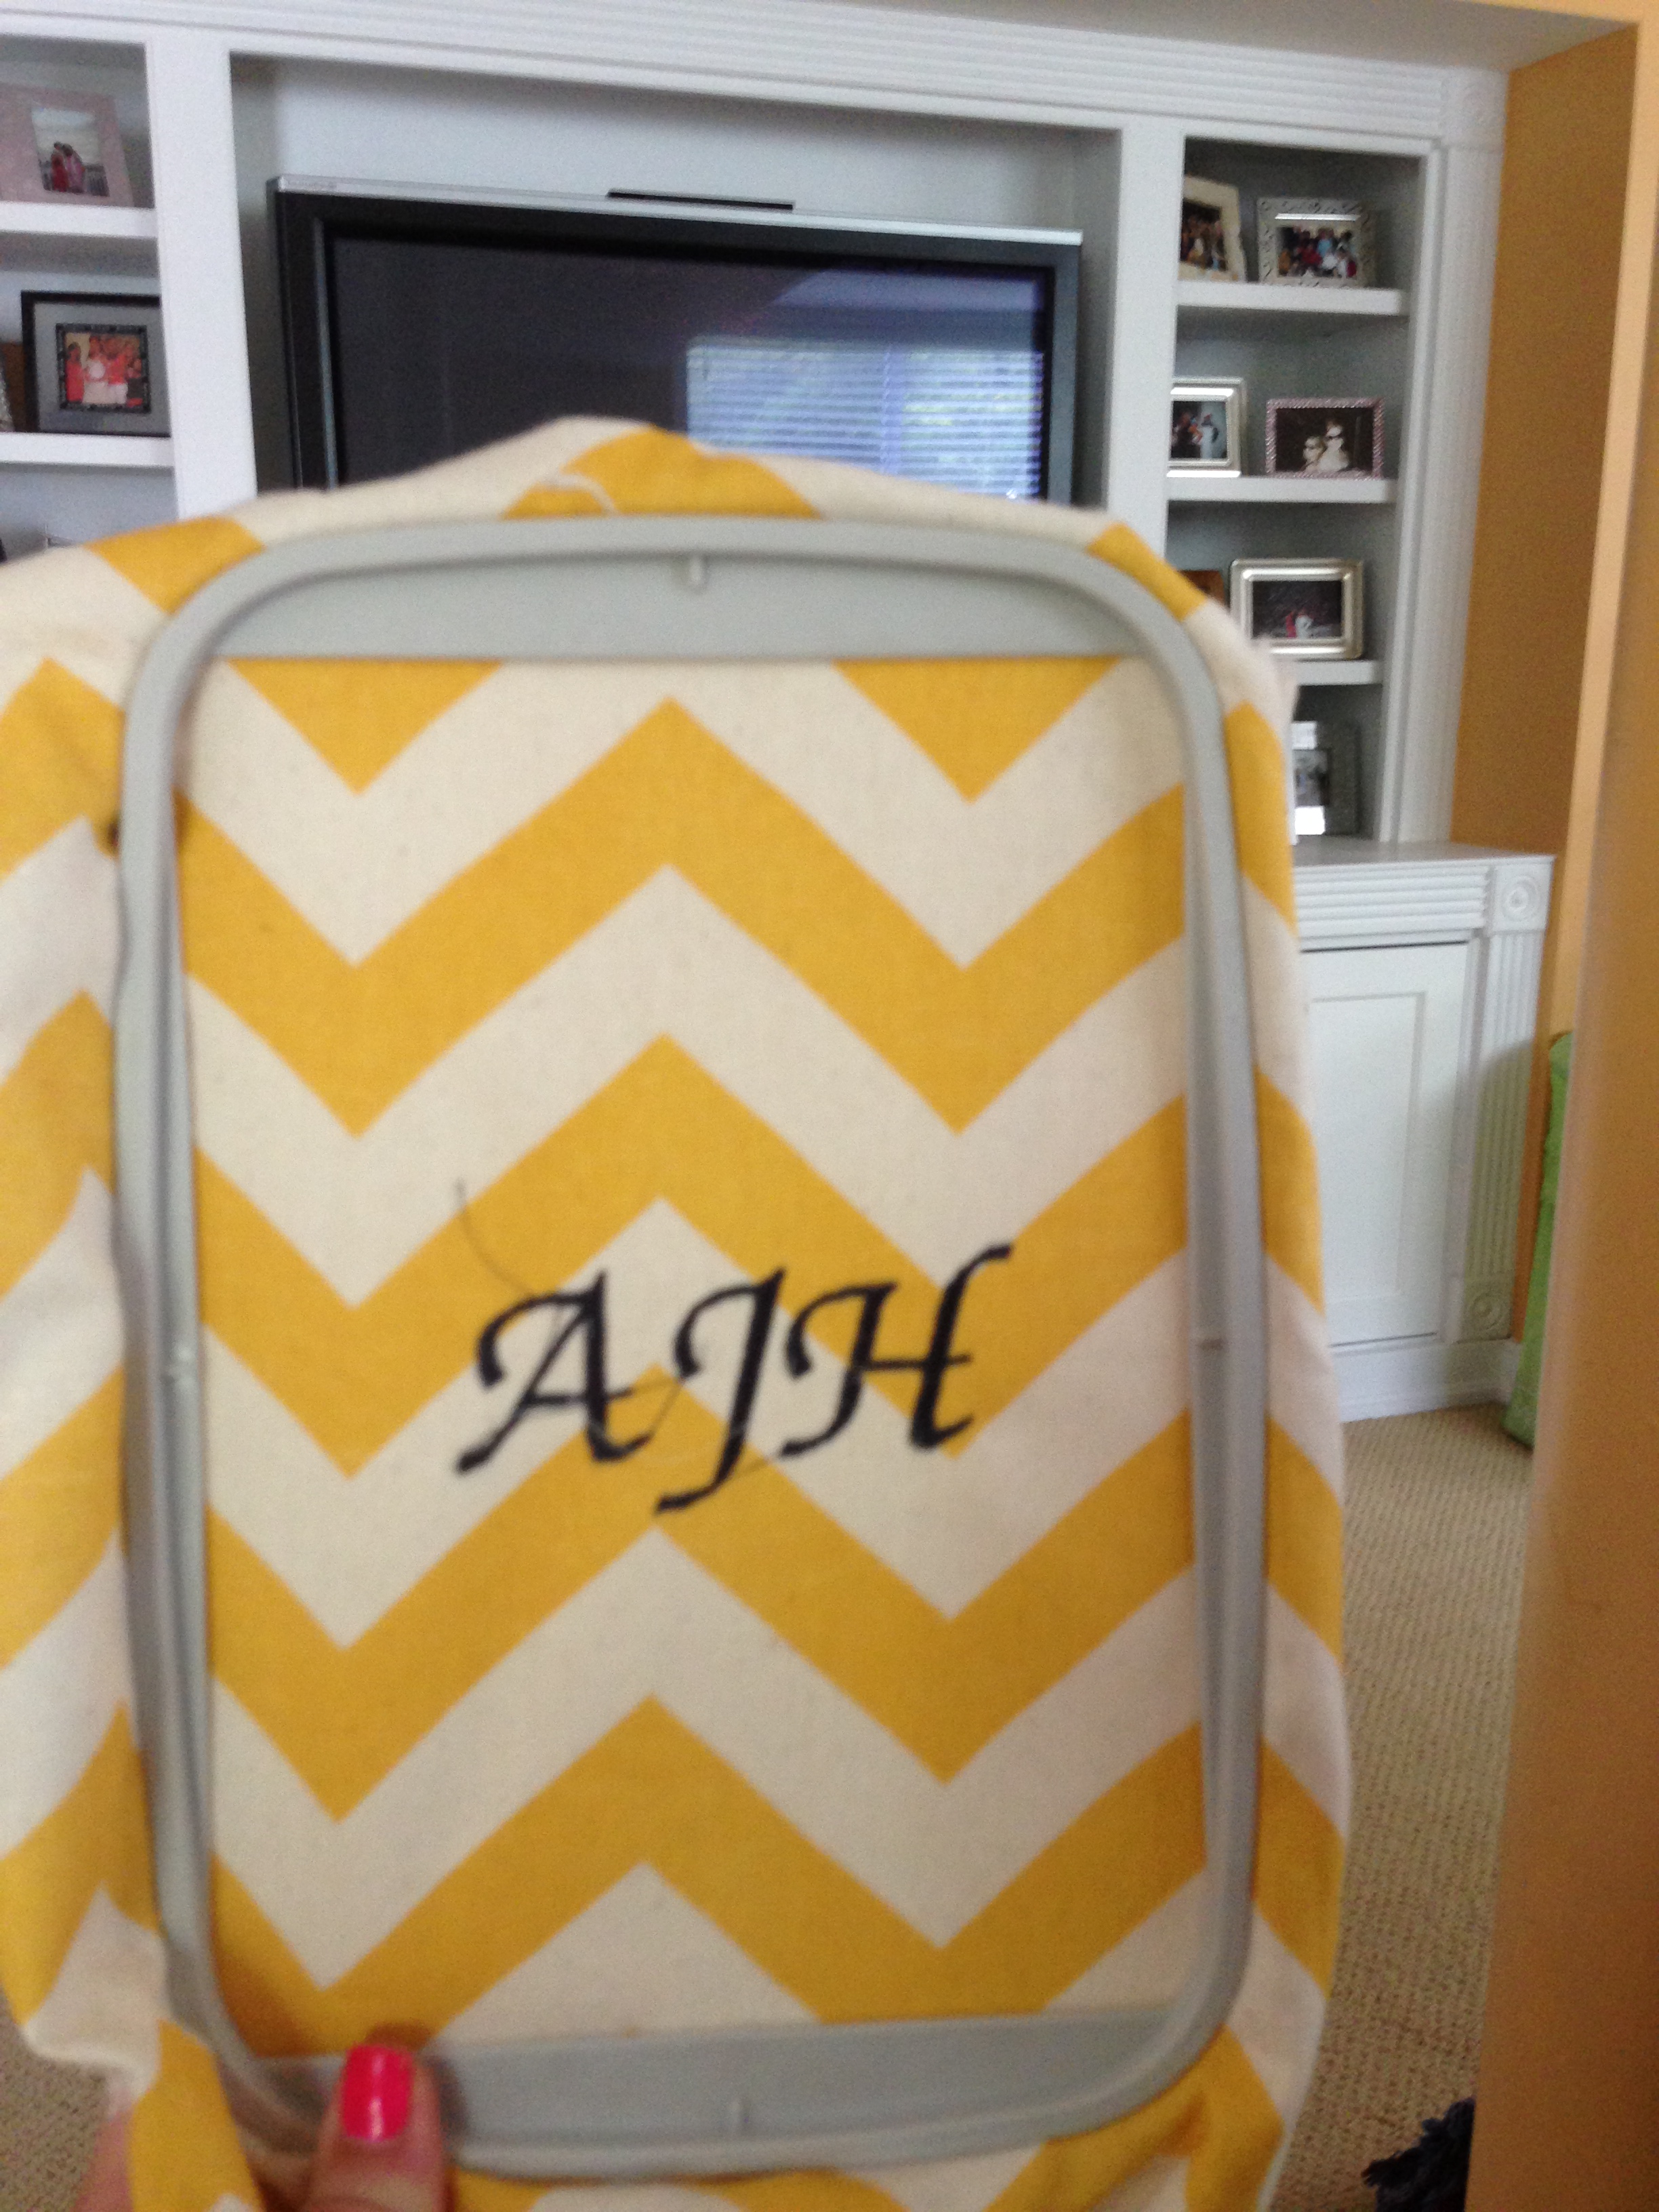
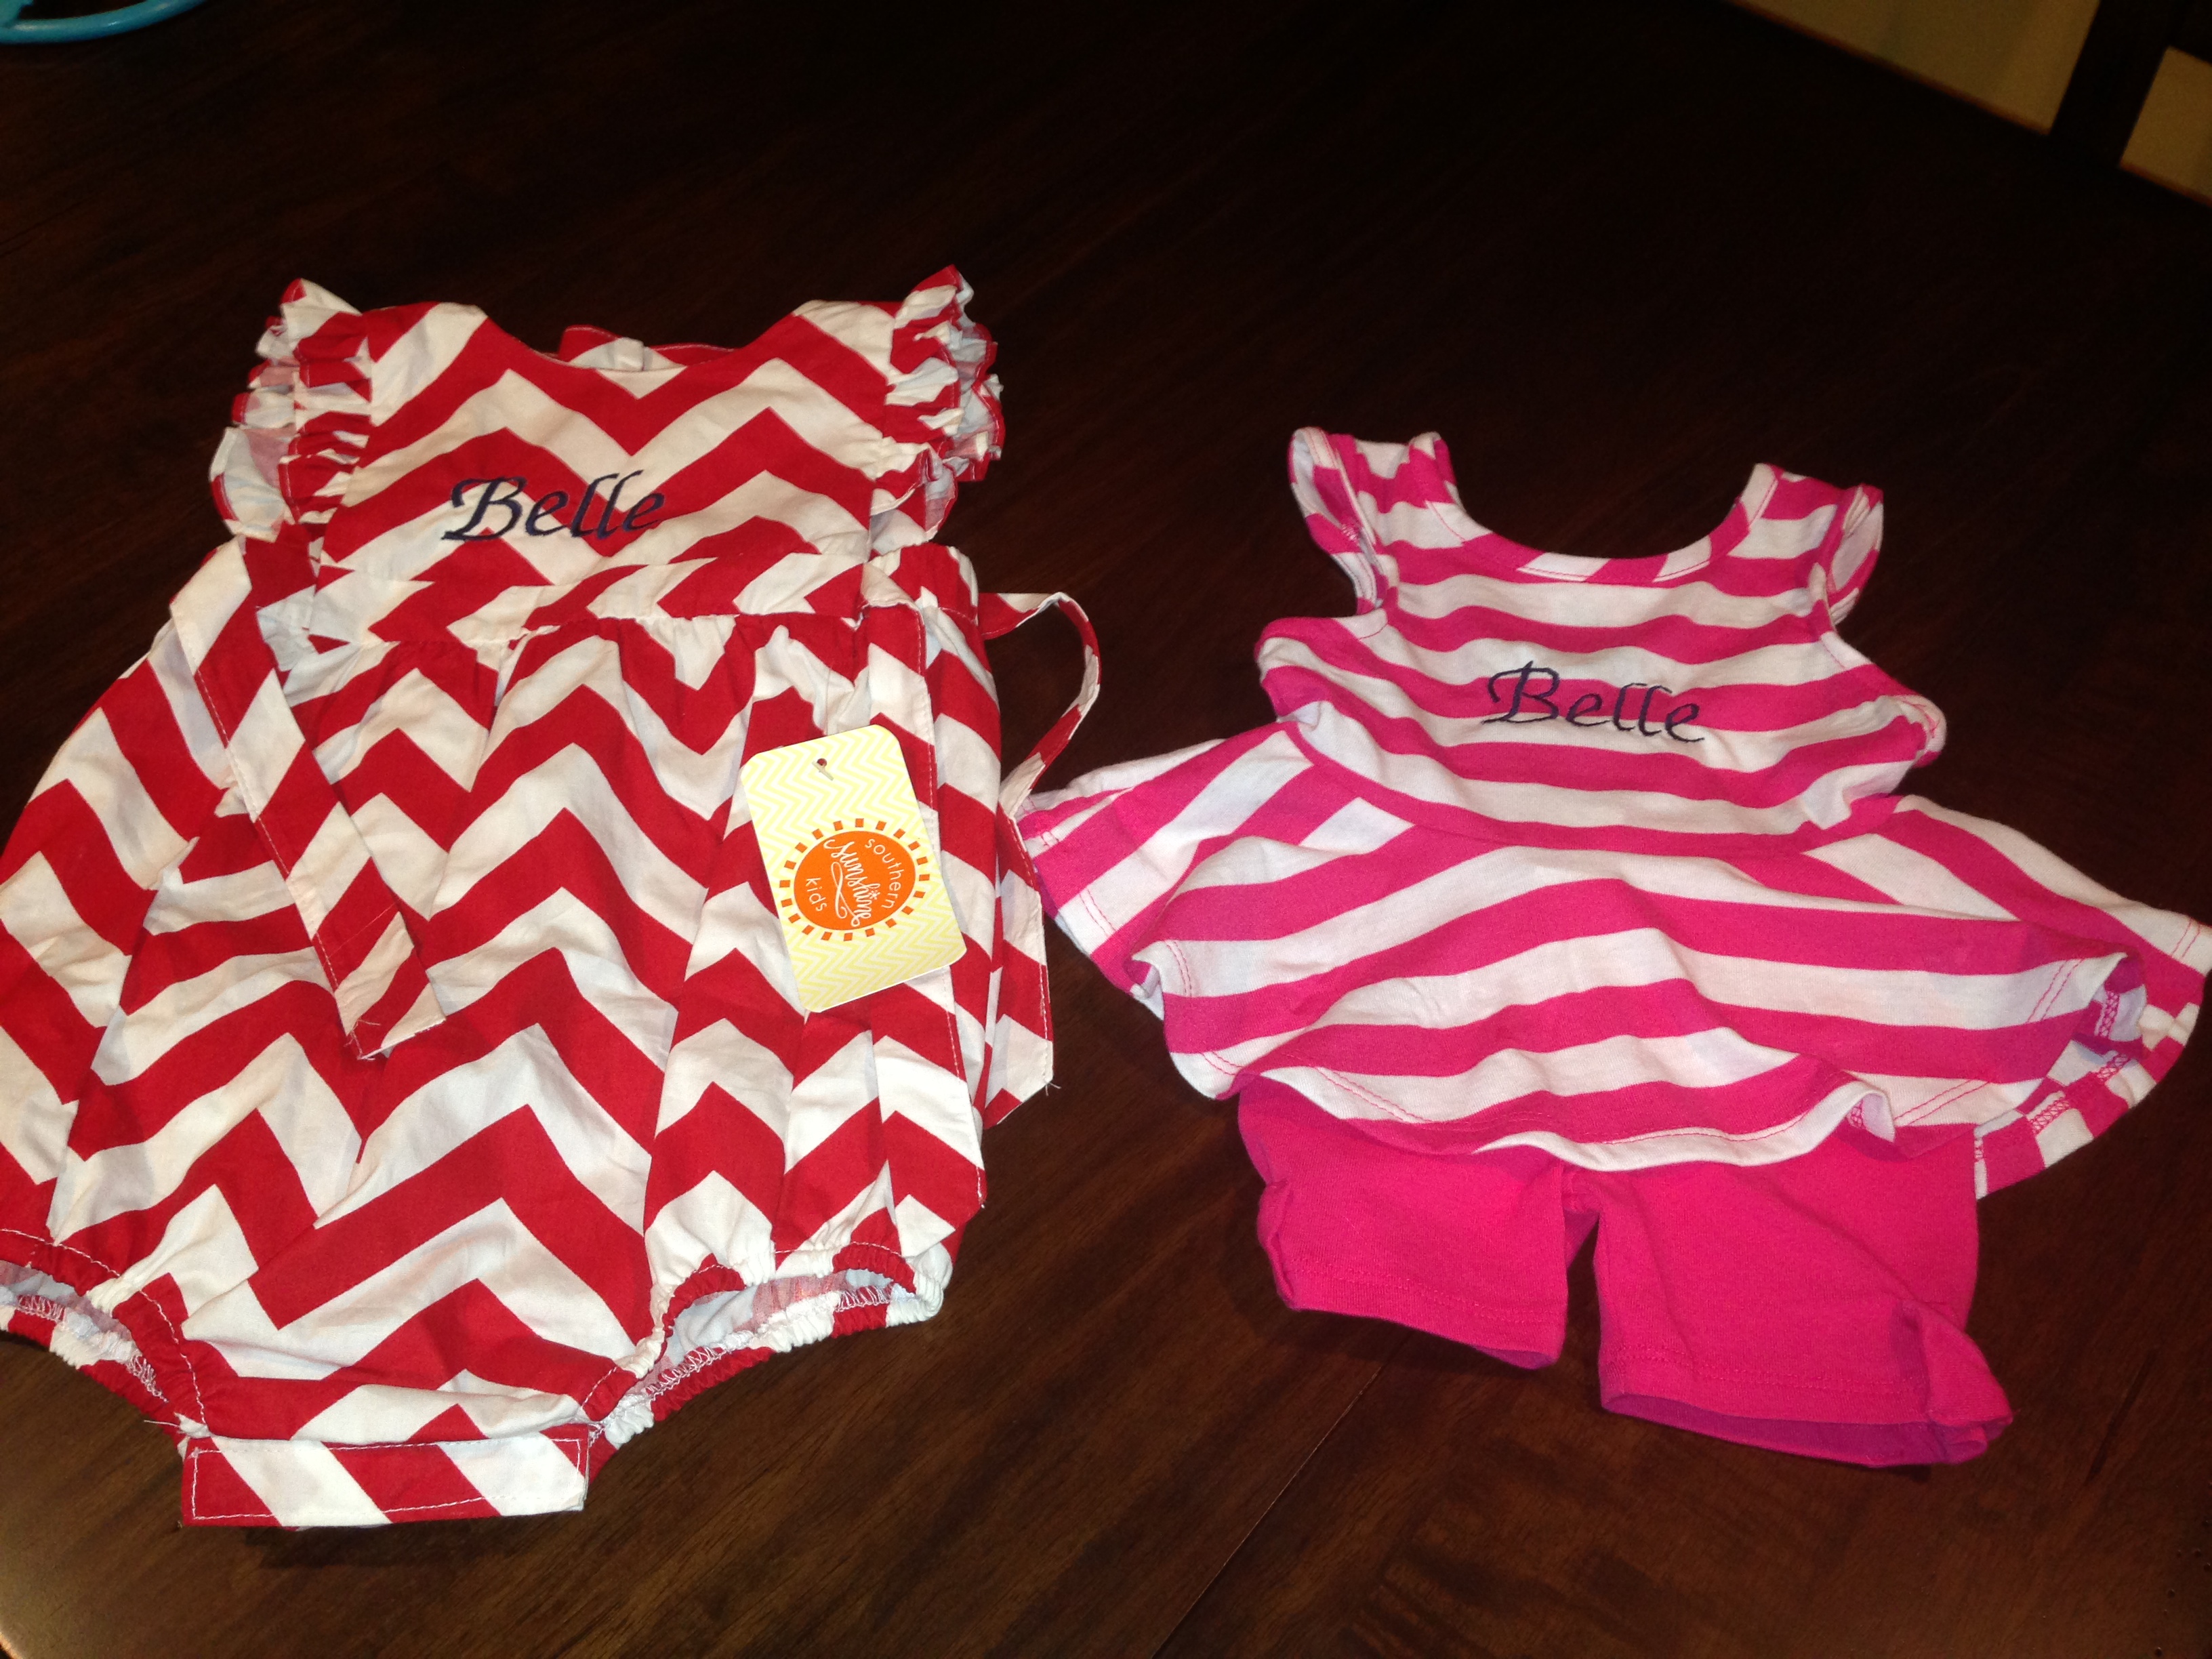
First of all, this operation manual is 209 pages. Needless to say, I have not made it through the entire manual just yet, but I learned enough to turn it on and figure out how to embroider initials. I bought a cute little outfit for Belle that I wanted to monogram so I thought I’d test my skills on fabric swatches before I committed to the ensemble.
The hardest part was trying to change all of the accessories from a regular sewing machine to an embroidery machine. Eventually I figured it out. I ironed on stabilizer and put the fabric into the frame thingy (technical term…) and attached the frame thingy to the embroidery arm. A couple of buttons later and the thing was moving along nicely!

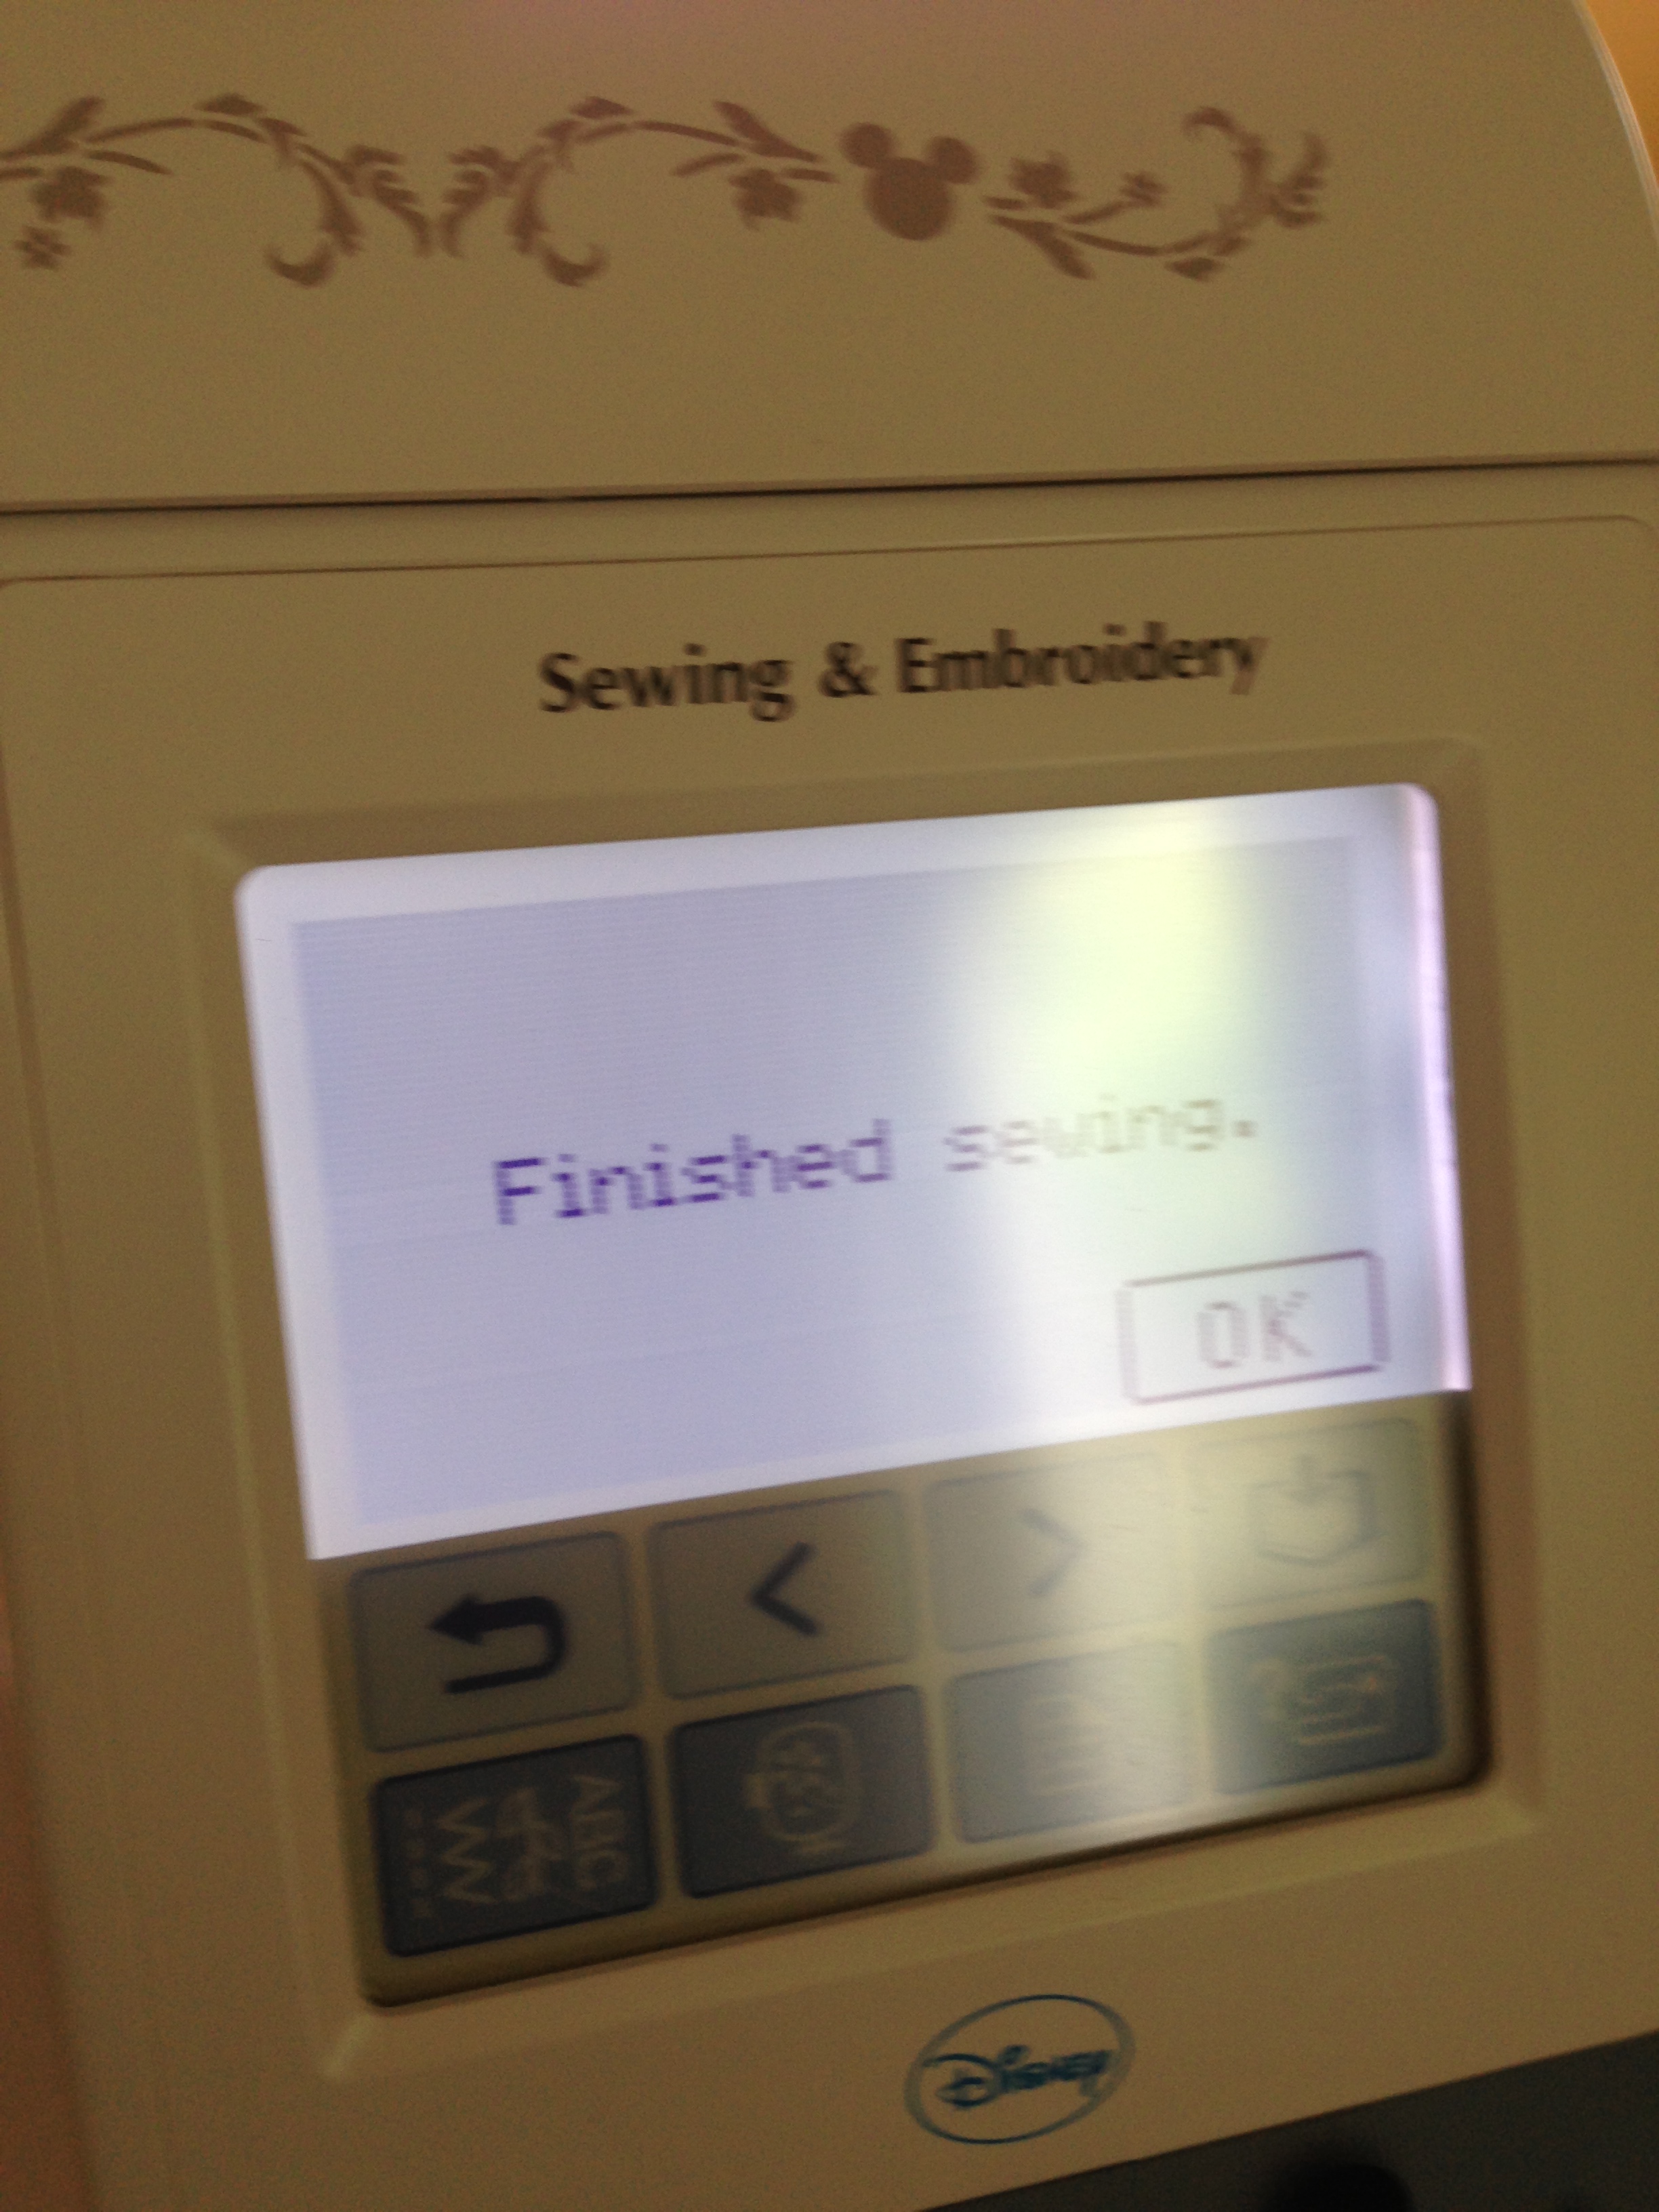
Finished sewing! It dings when it’s done! Like an oven!
I thought I did a pretty great job! Then I turned it over…

Ok…lesson learned! Move the fabric out of the way! This is why I practiced!
Round 2…


Now we’re talking!! Ok, let’s give this a shot!
Second hardest thing…trying to figure out how to get the outfit onto the frame so that it wont get sewn over like the first trial attempt.
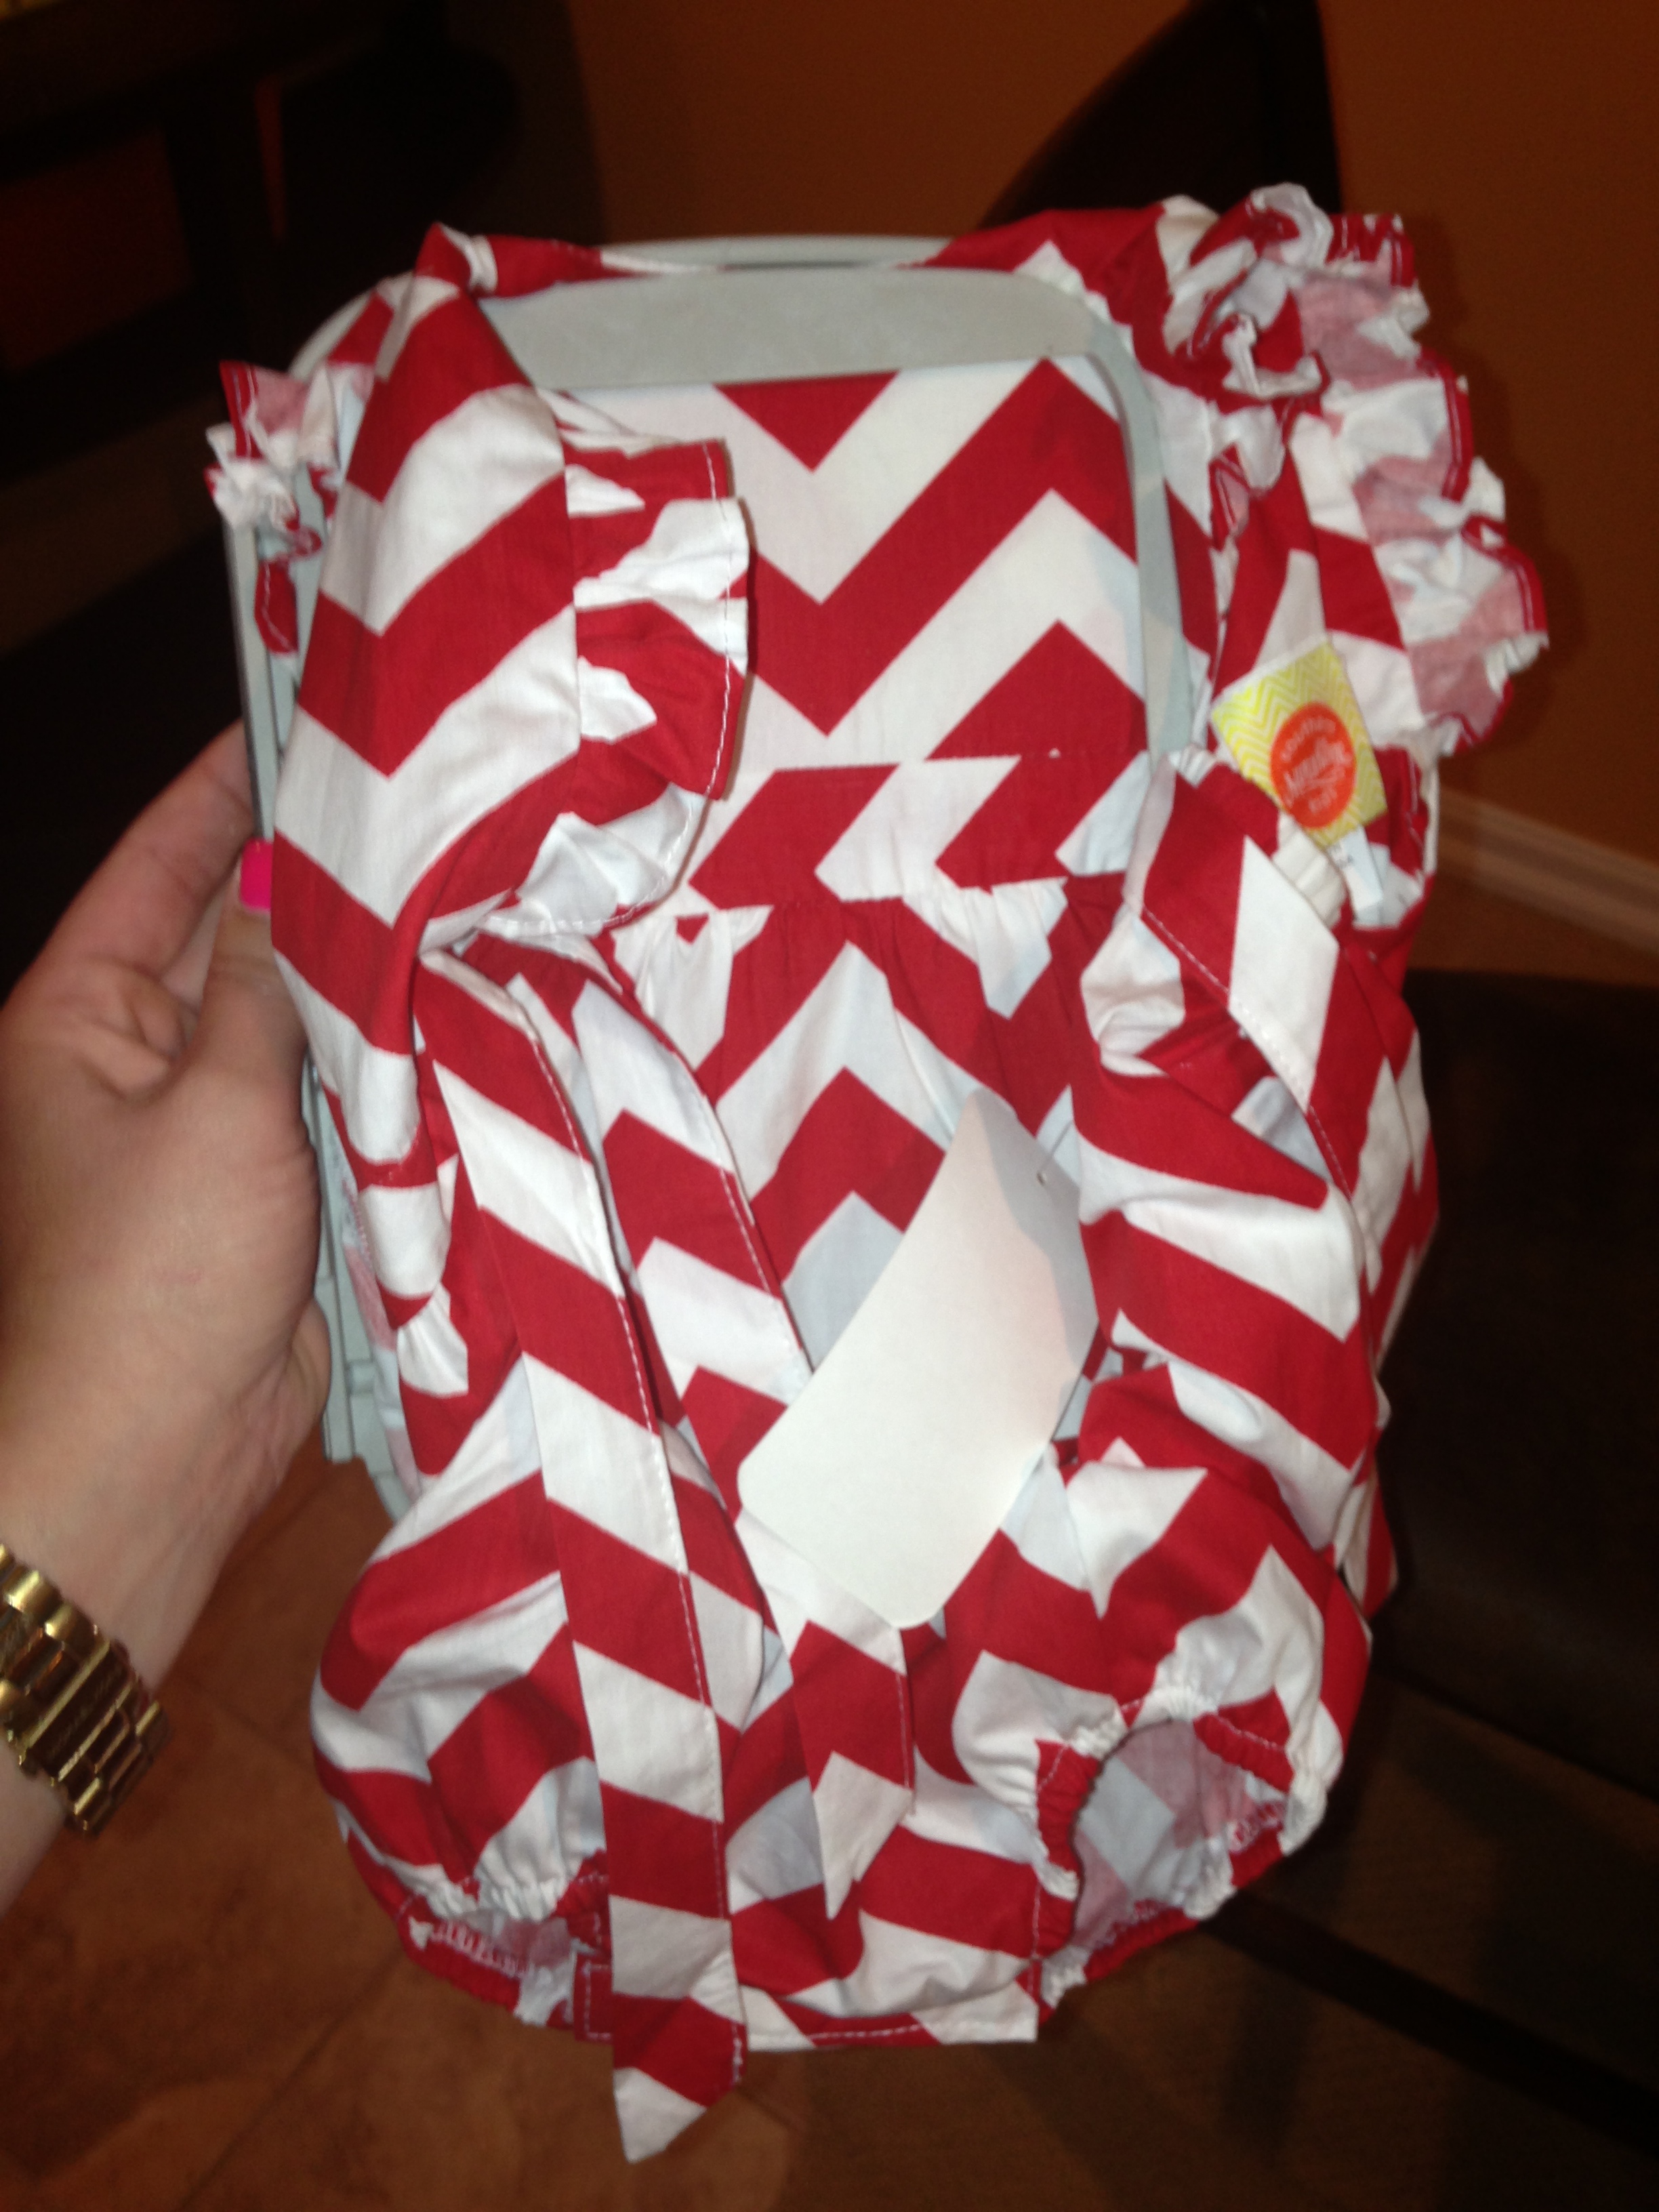

This took 3 different attempts before I got it right. I’m sure you can imagine the level of patience I had at this point…
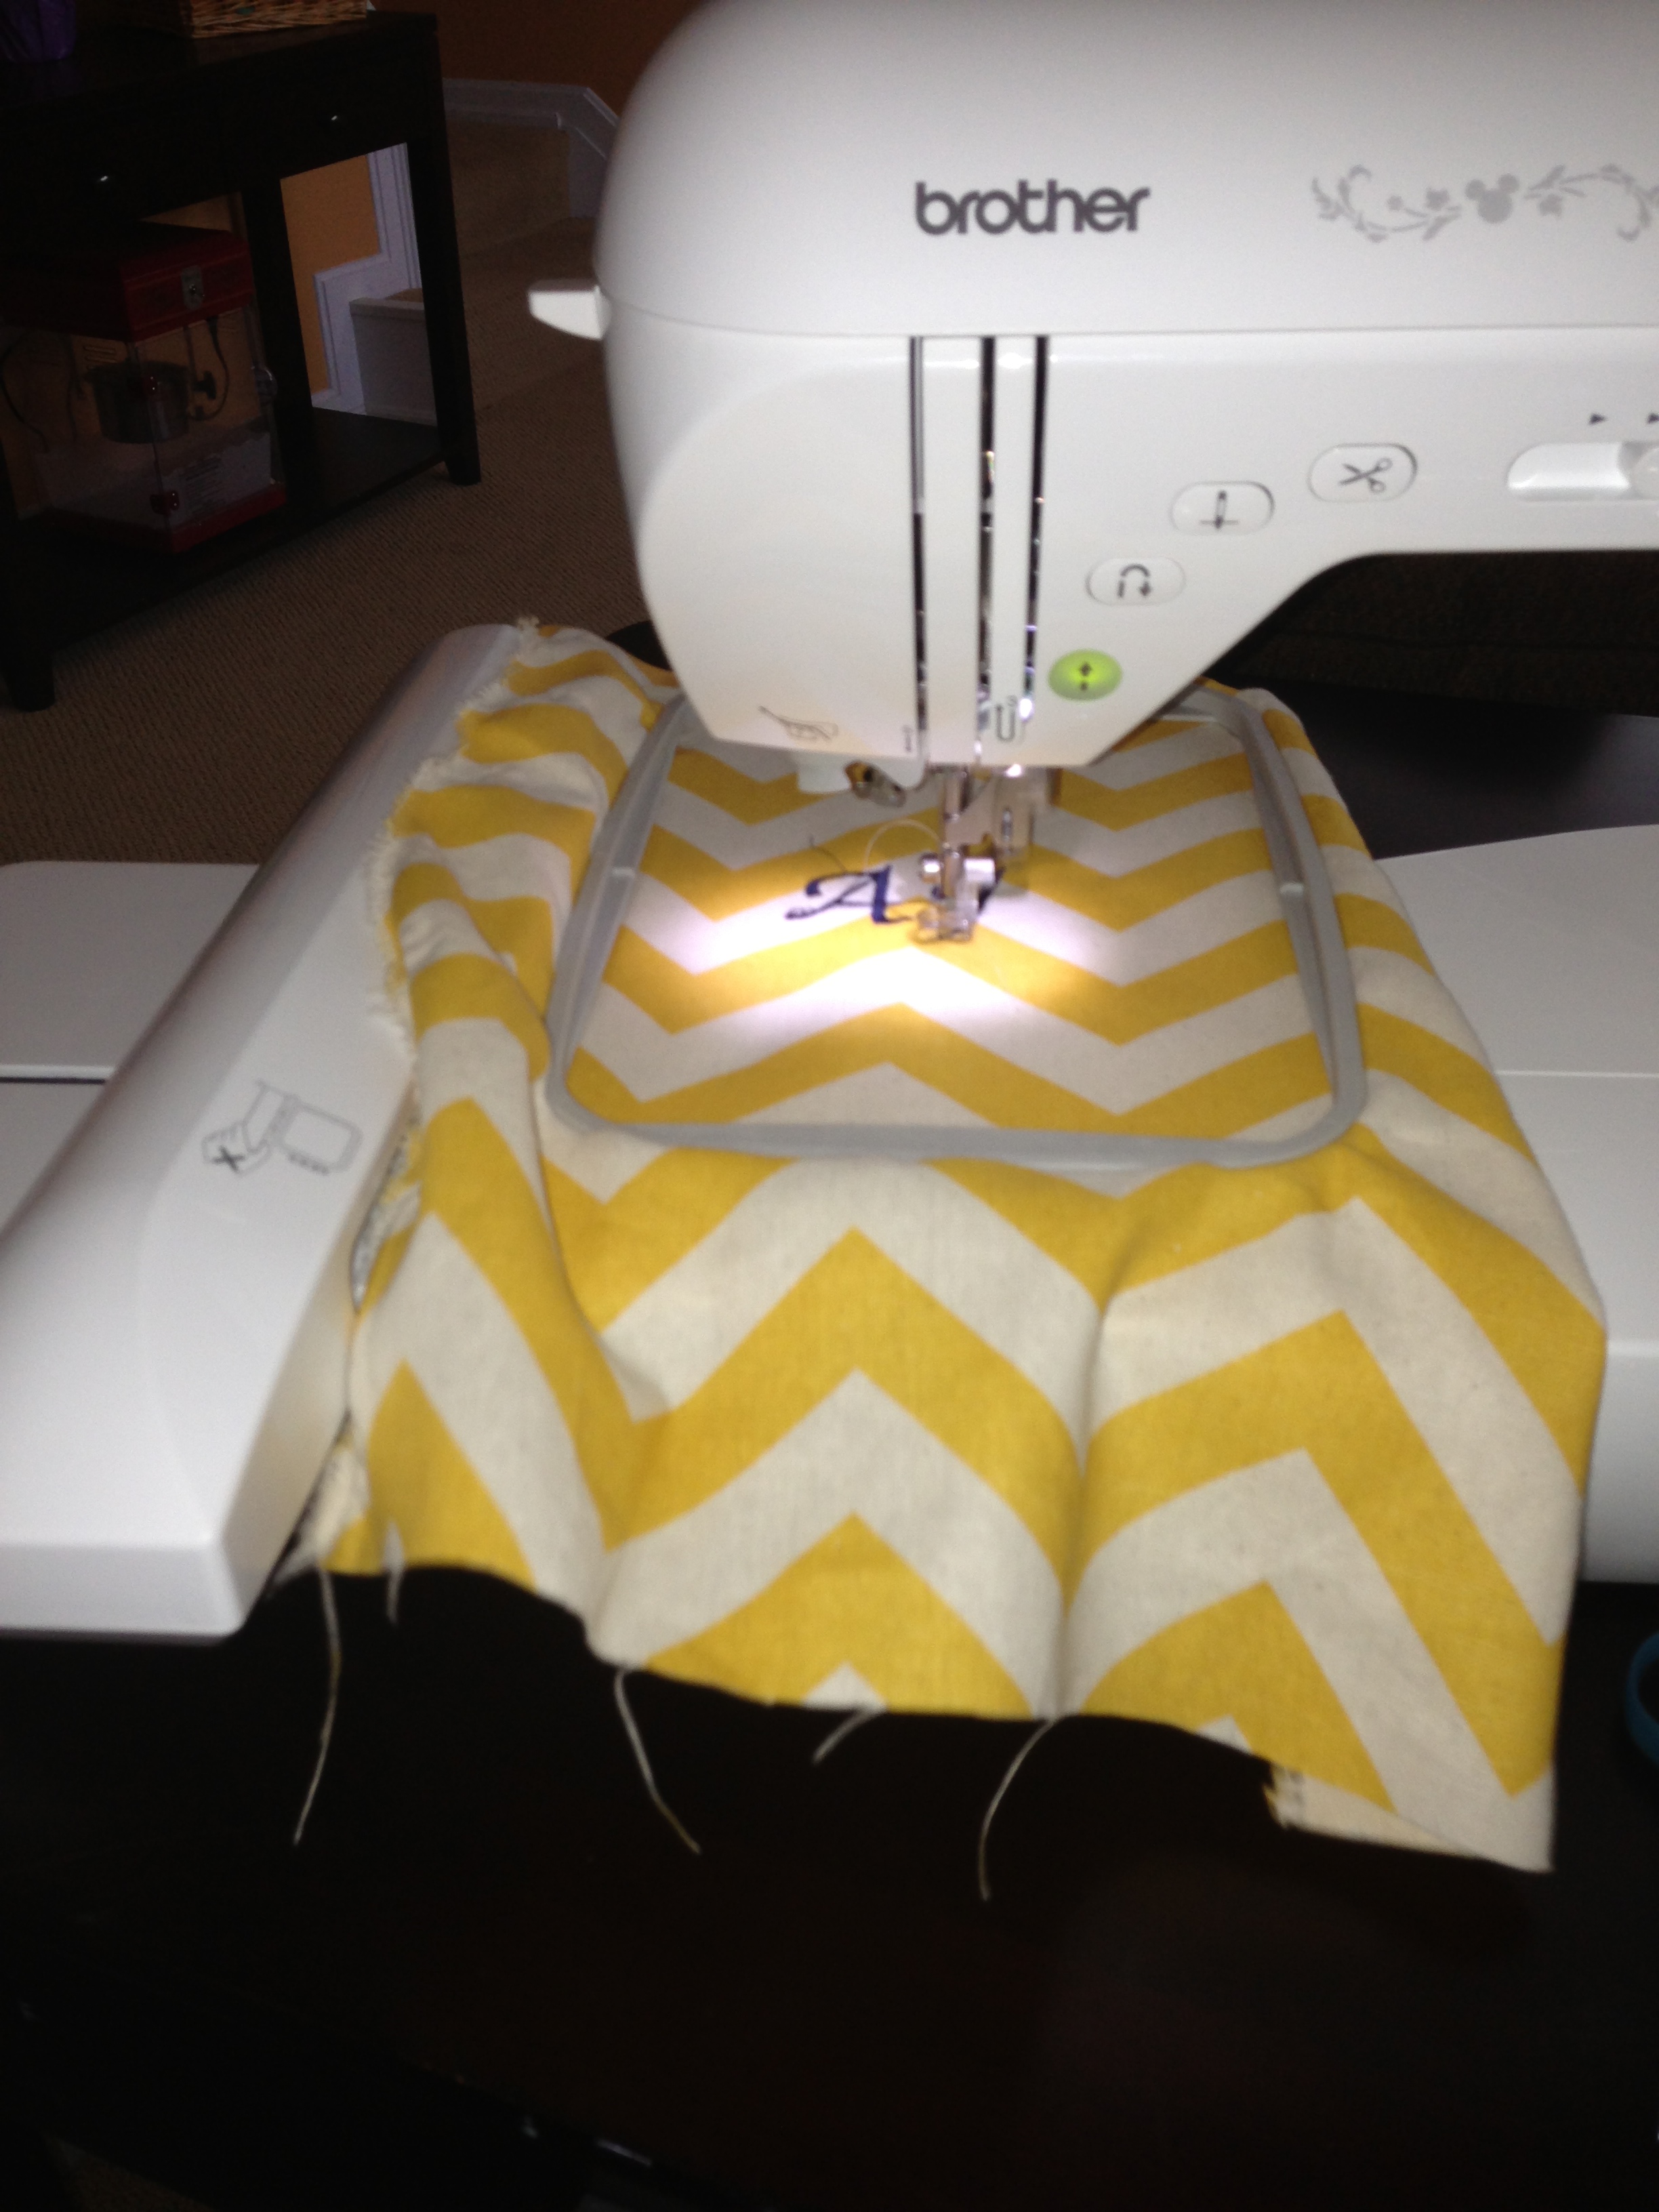
Ok. Fabric in frame thingy, frame thingy on embroidery arm, buttons pushed, and we’re off.
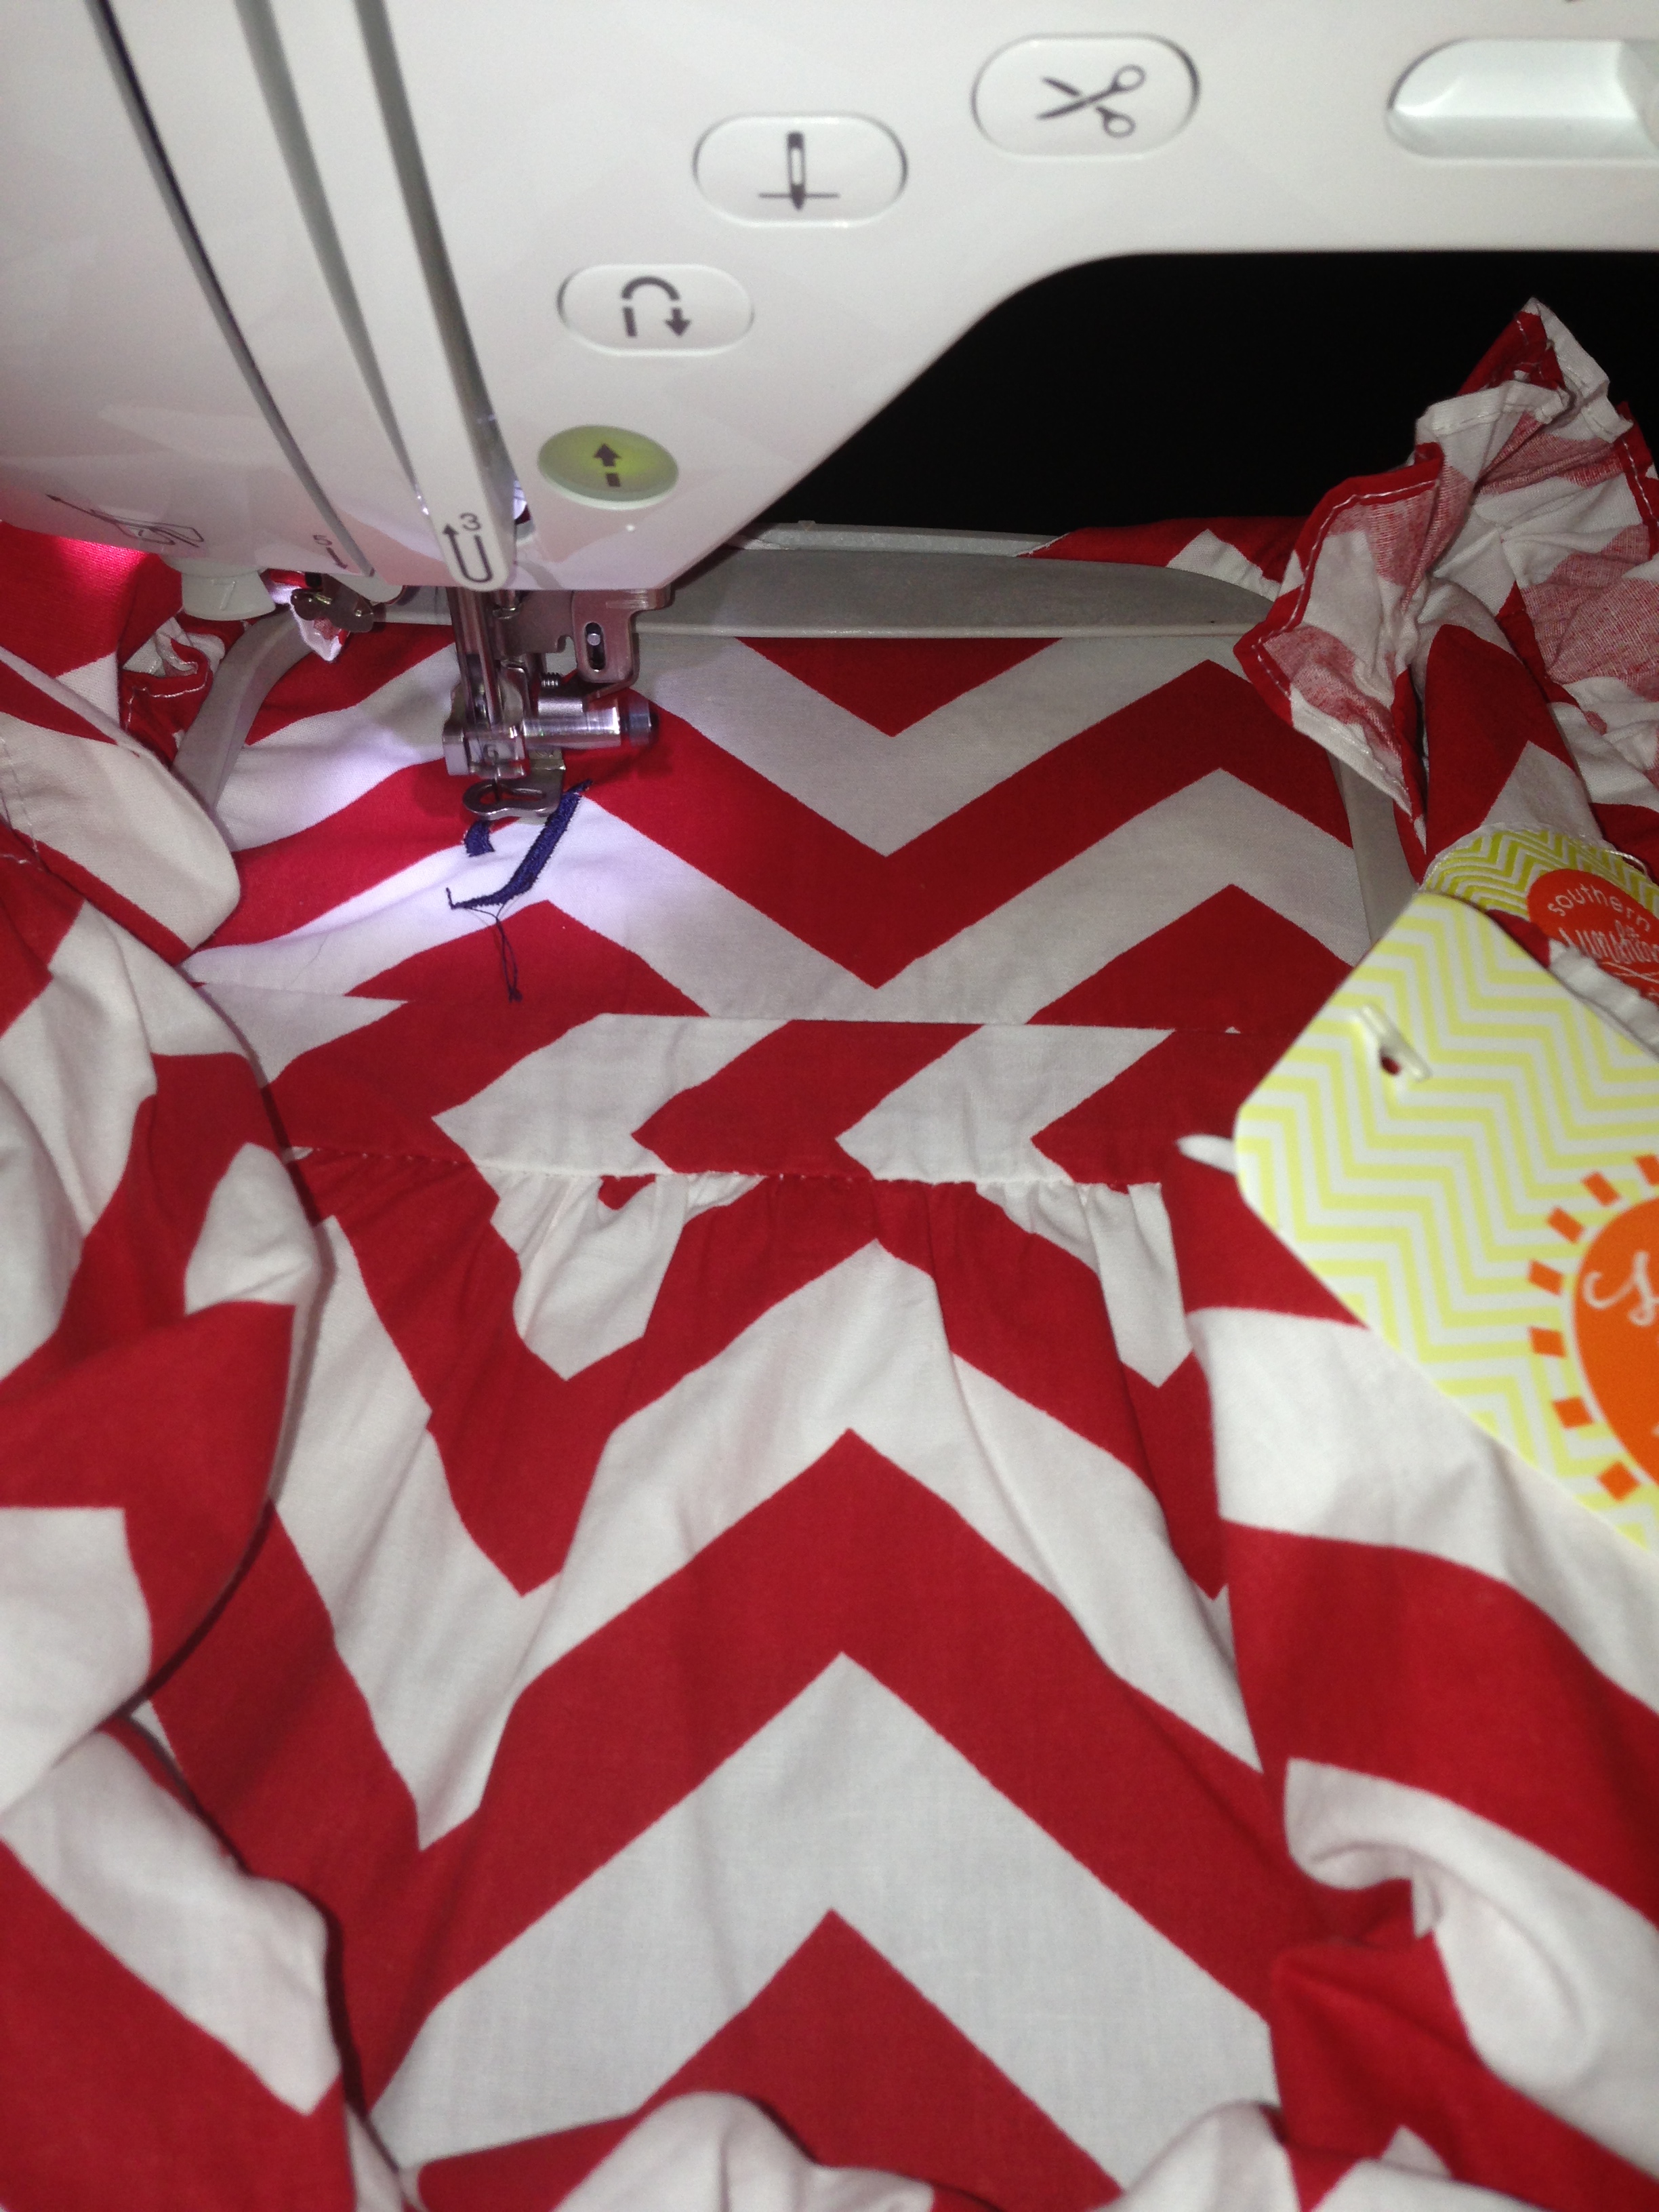

So far so good!


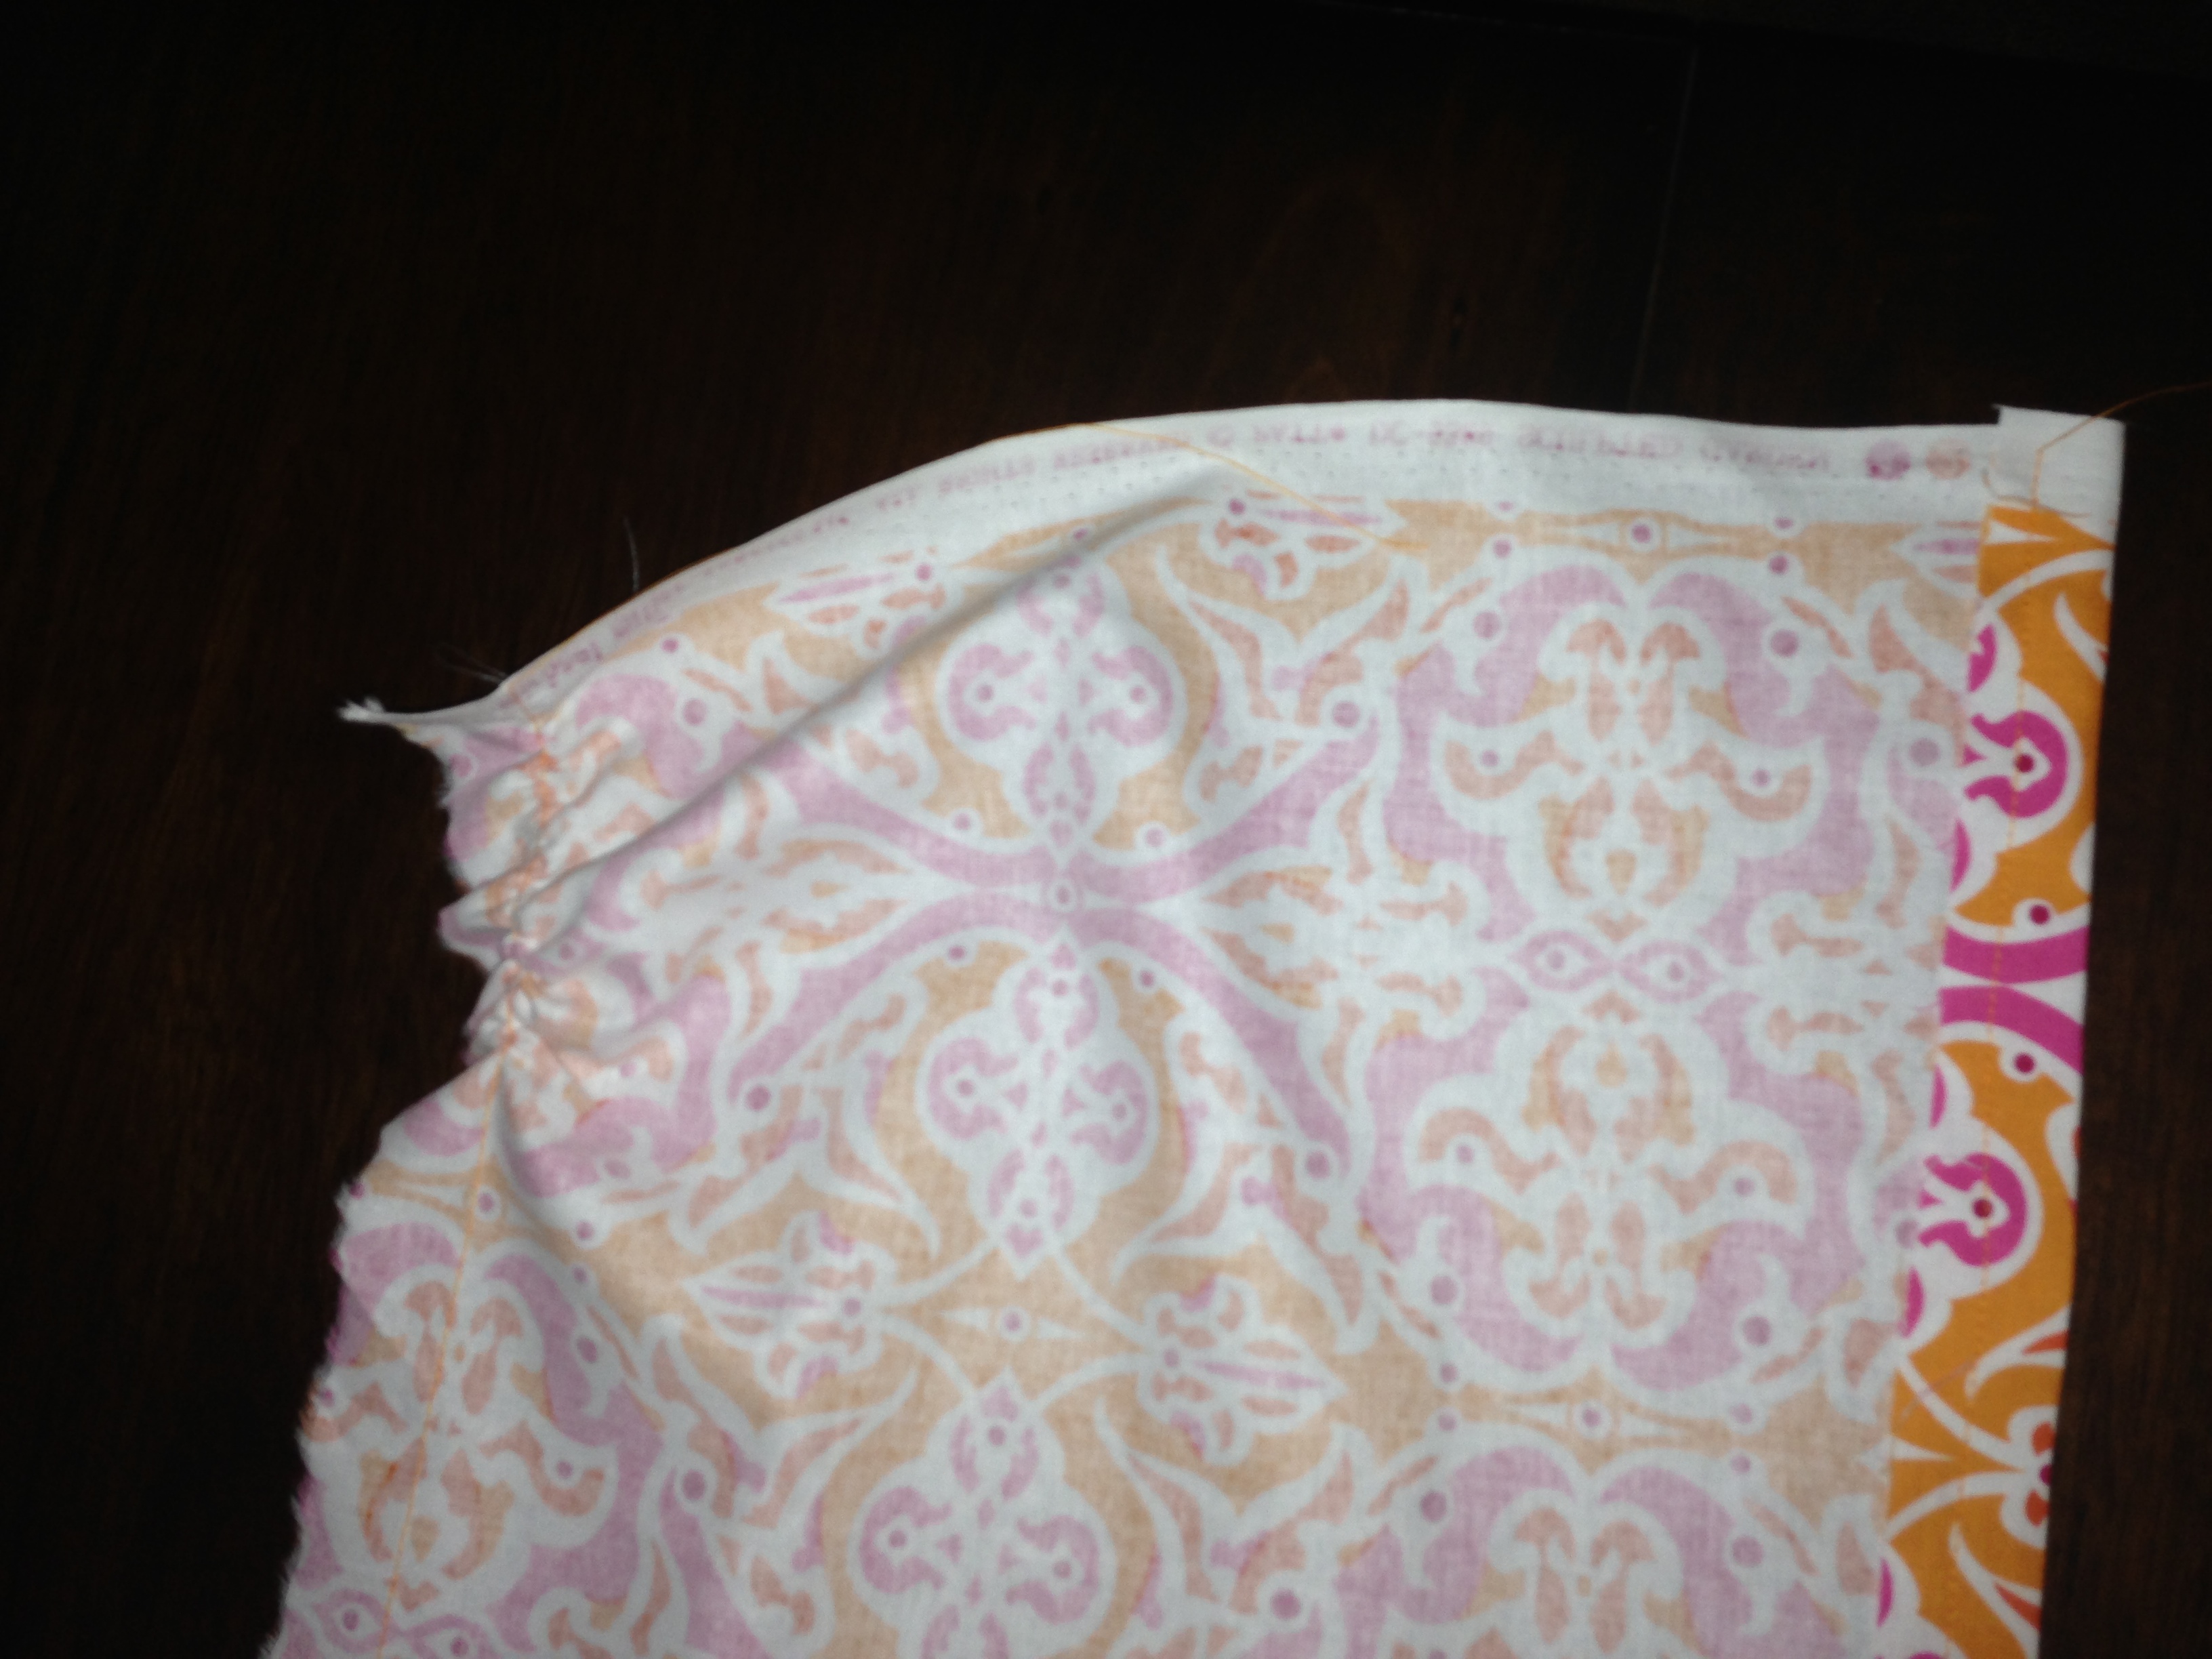
Holy cow it worked!! This is the iron-on stabilizer I applied to the back of the fabric for support. You can get sew-on or iron-on and either Wash-away or tear-away varieties.


Alright! Let’s see how it looks…

Welllll it’s a little off center…

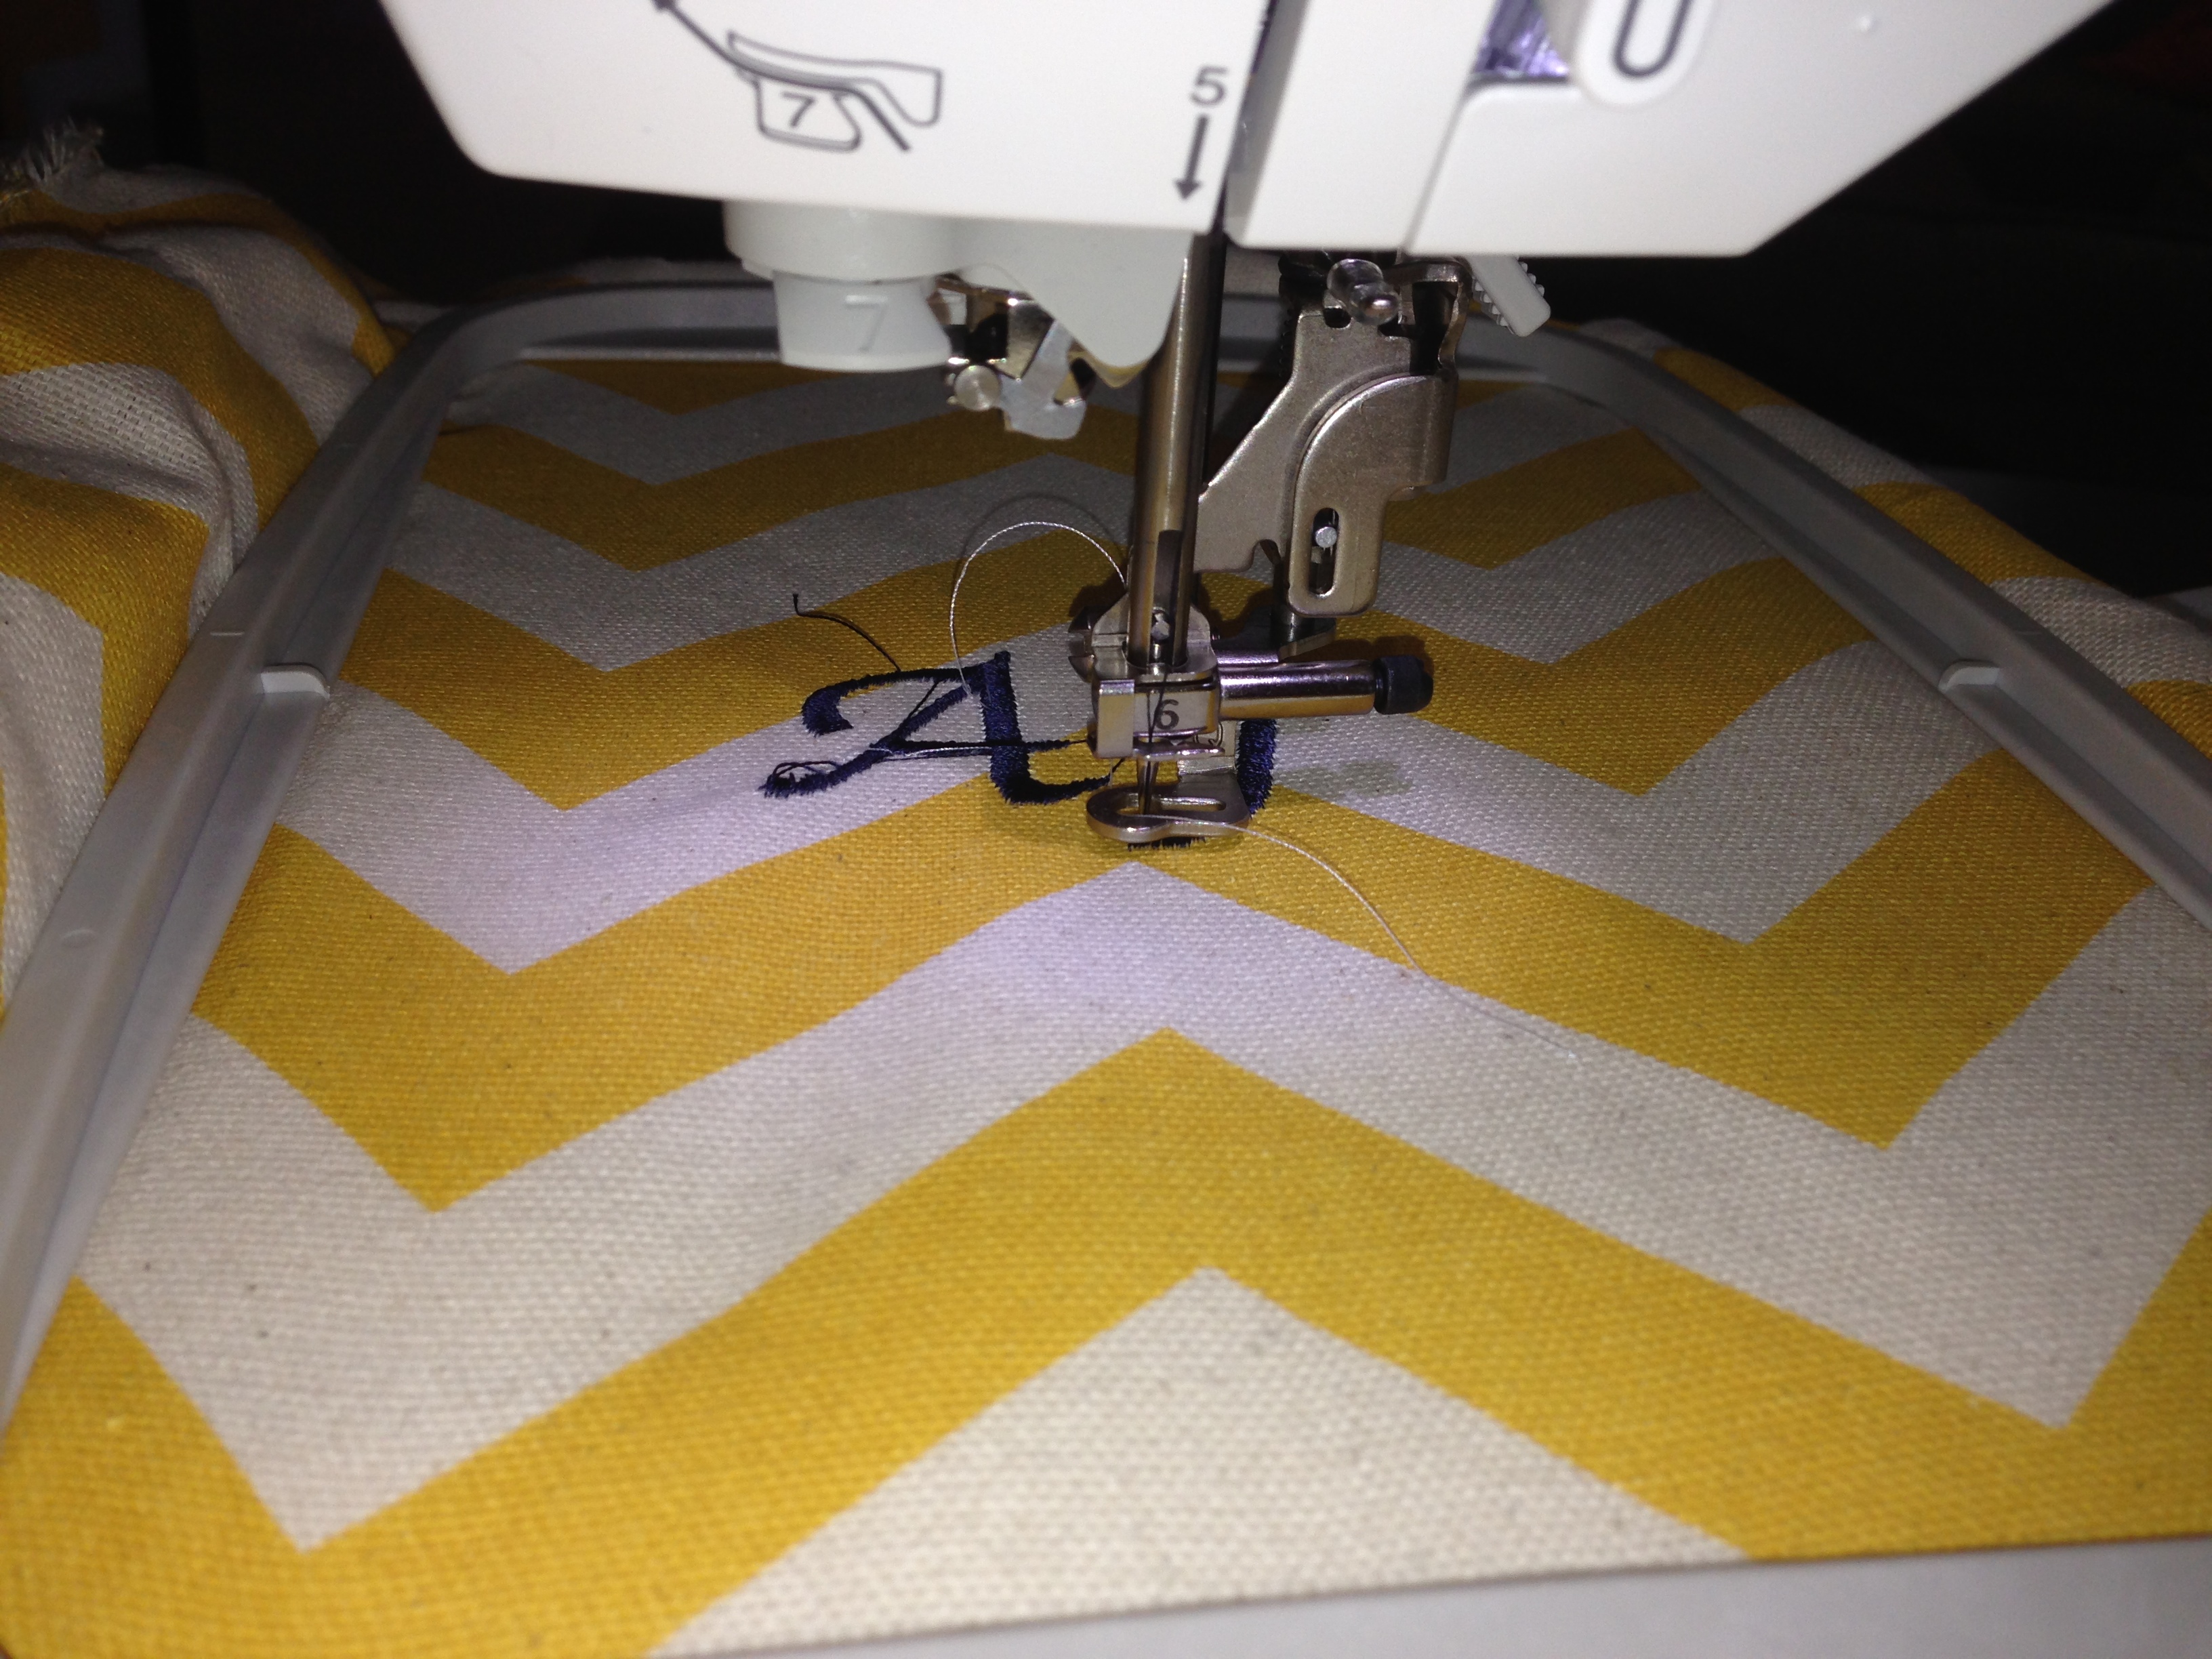
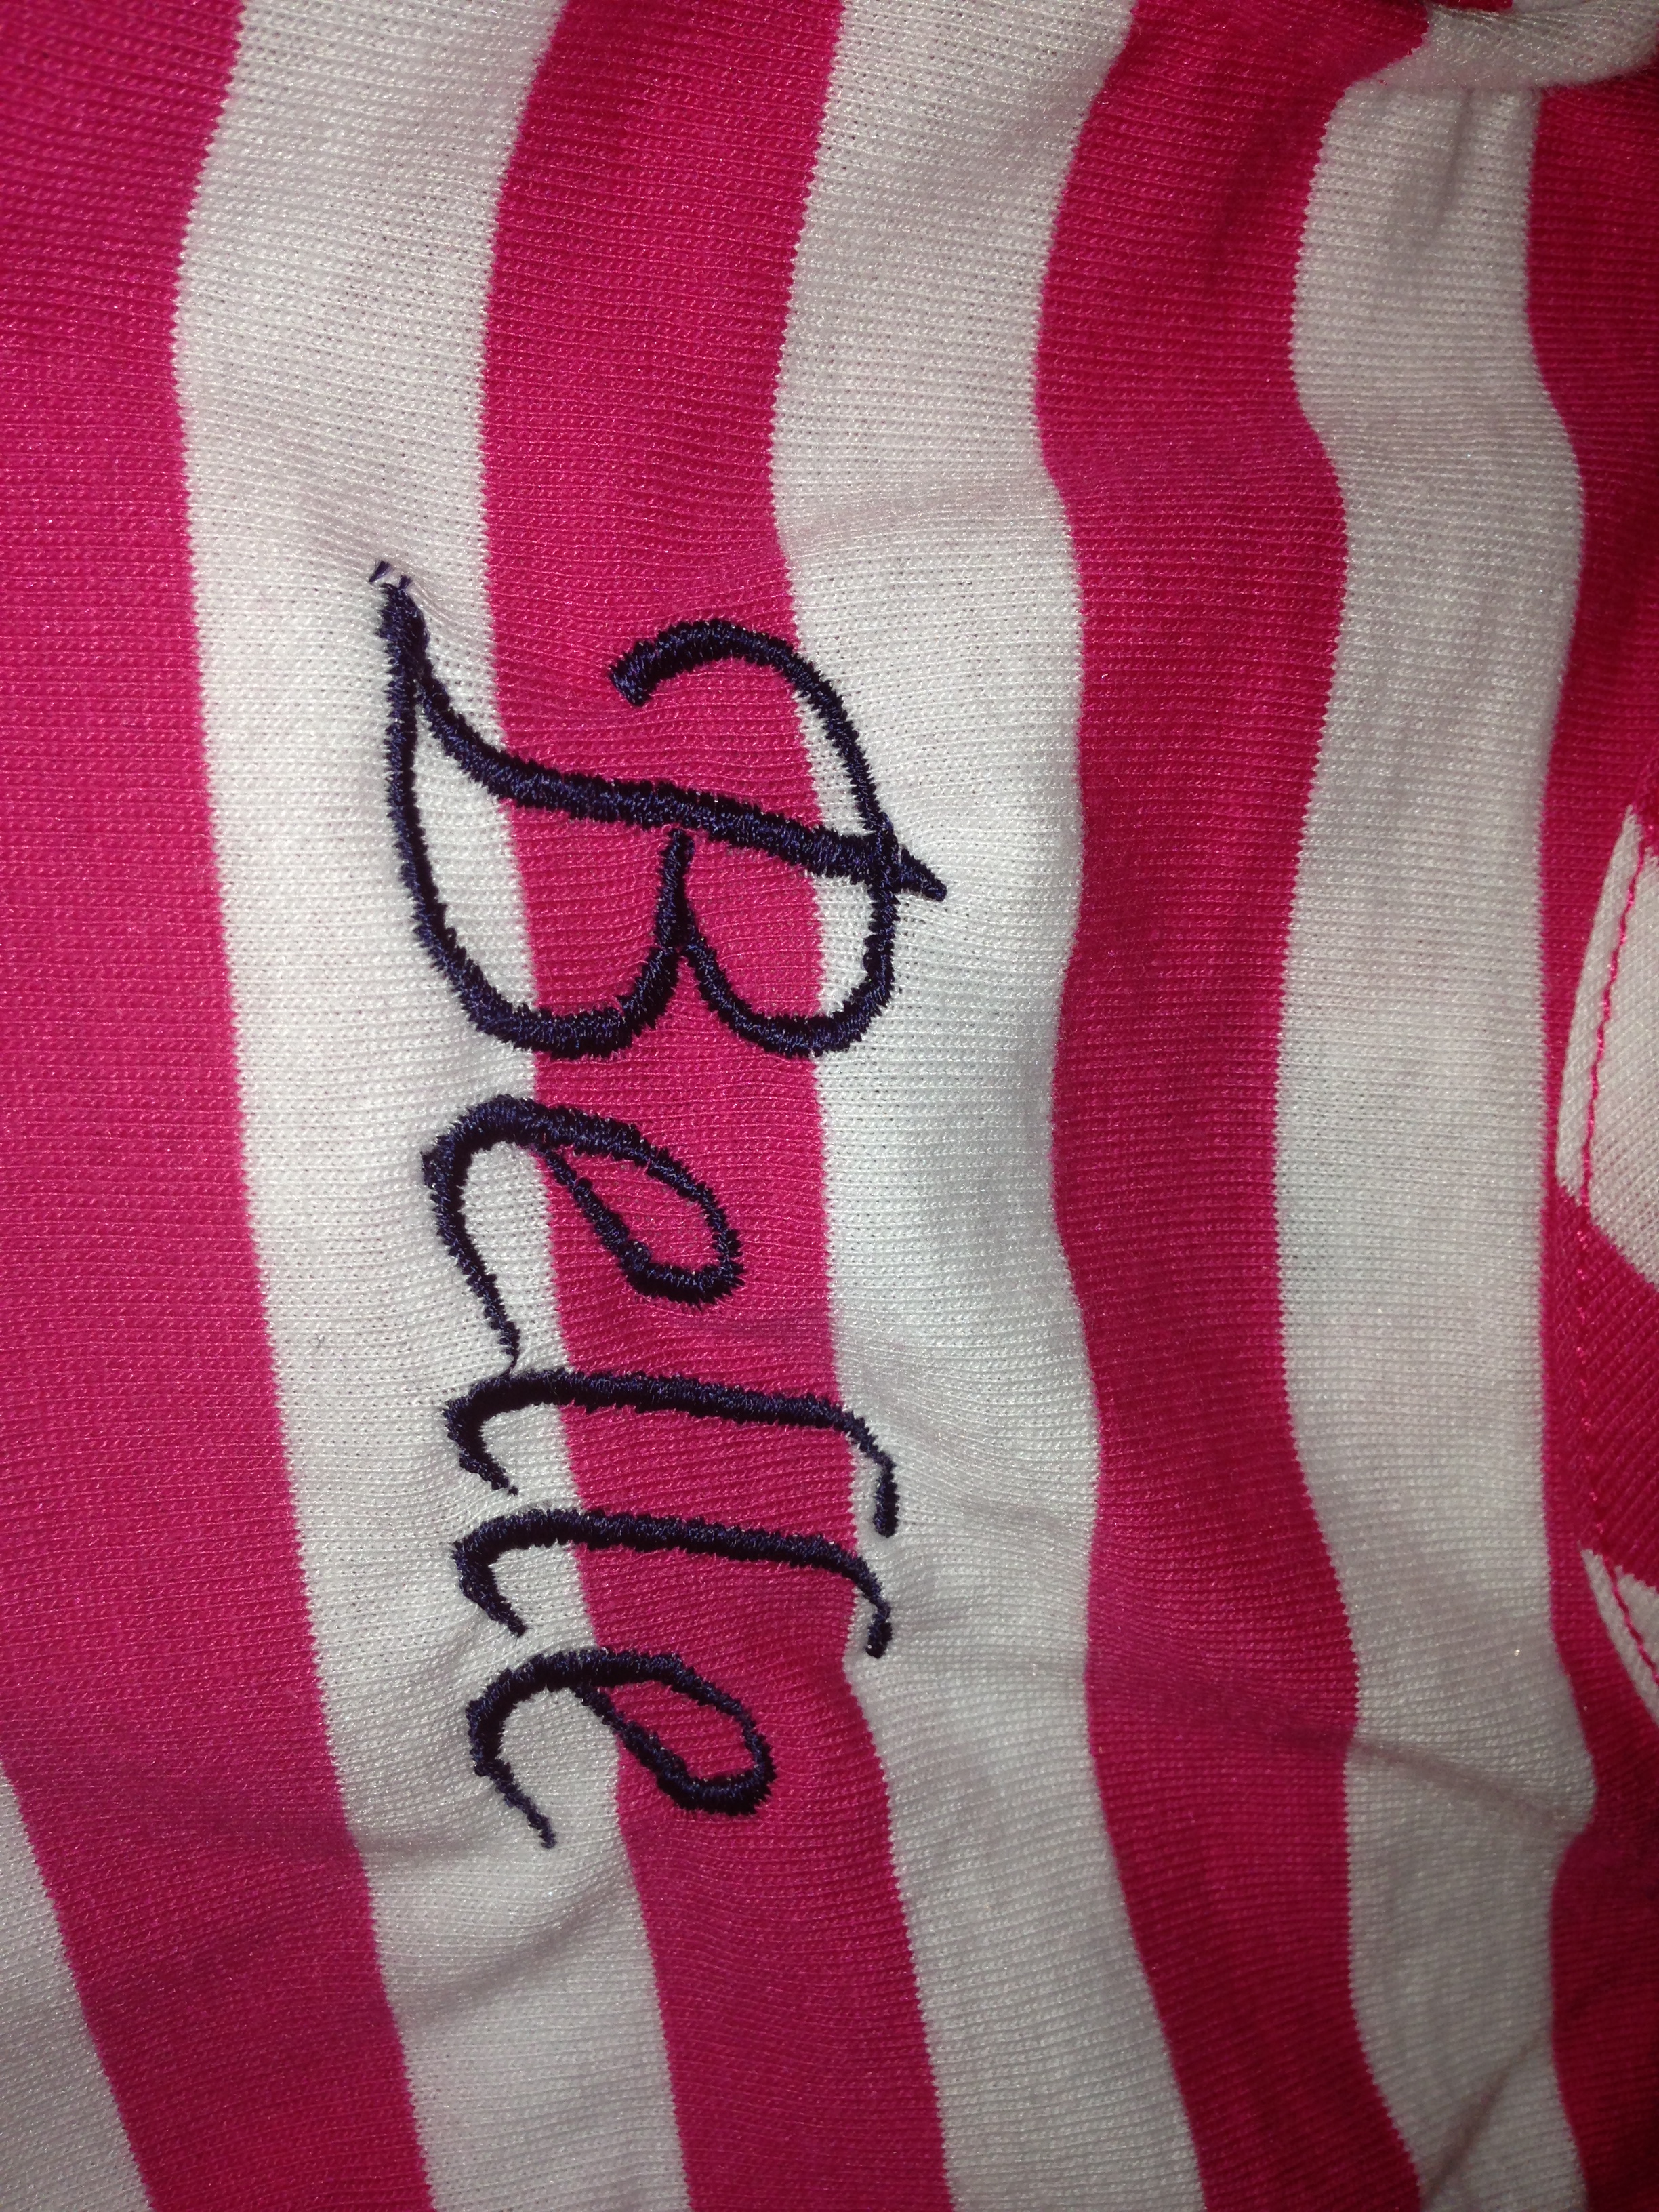
Let’s give it another go…horizontal stripes should complicate things.

This one turned out alright!!

Ok, so these are the embroidery projects!!

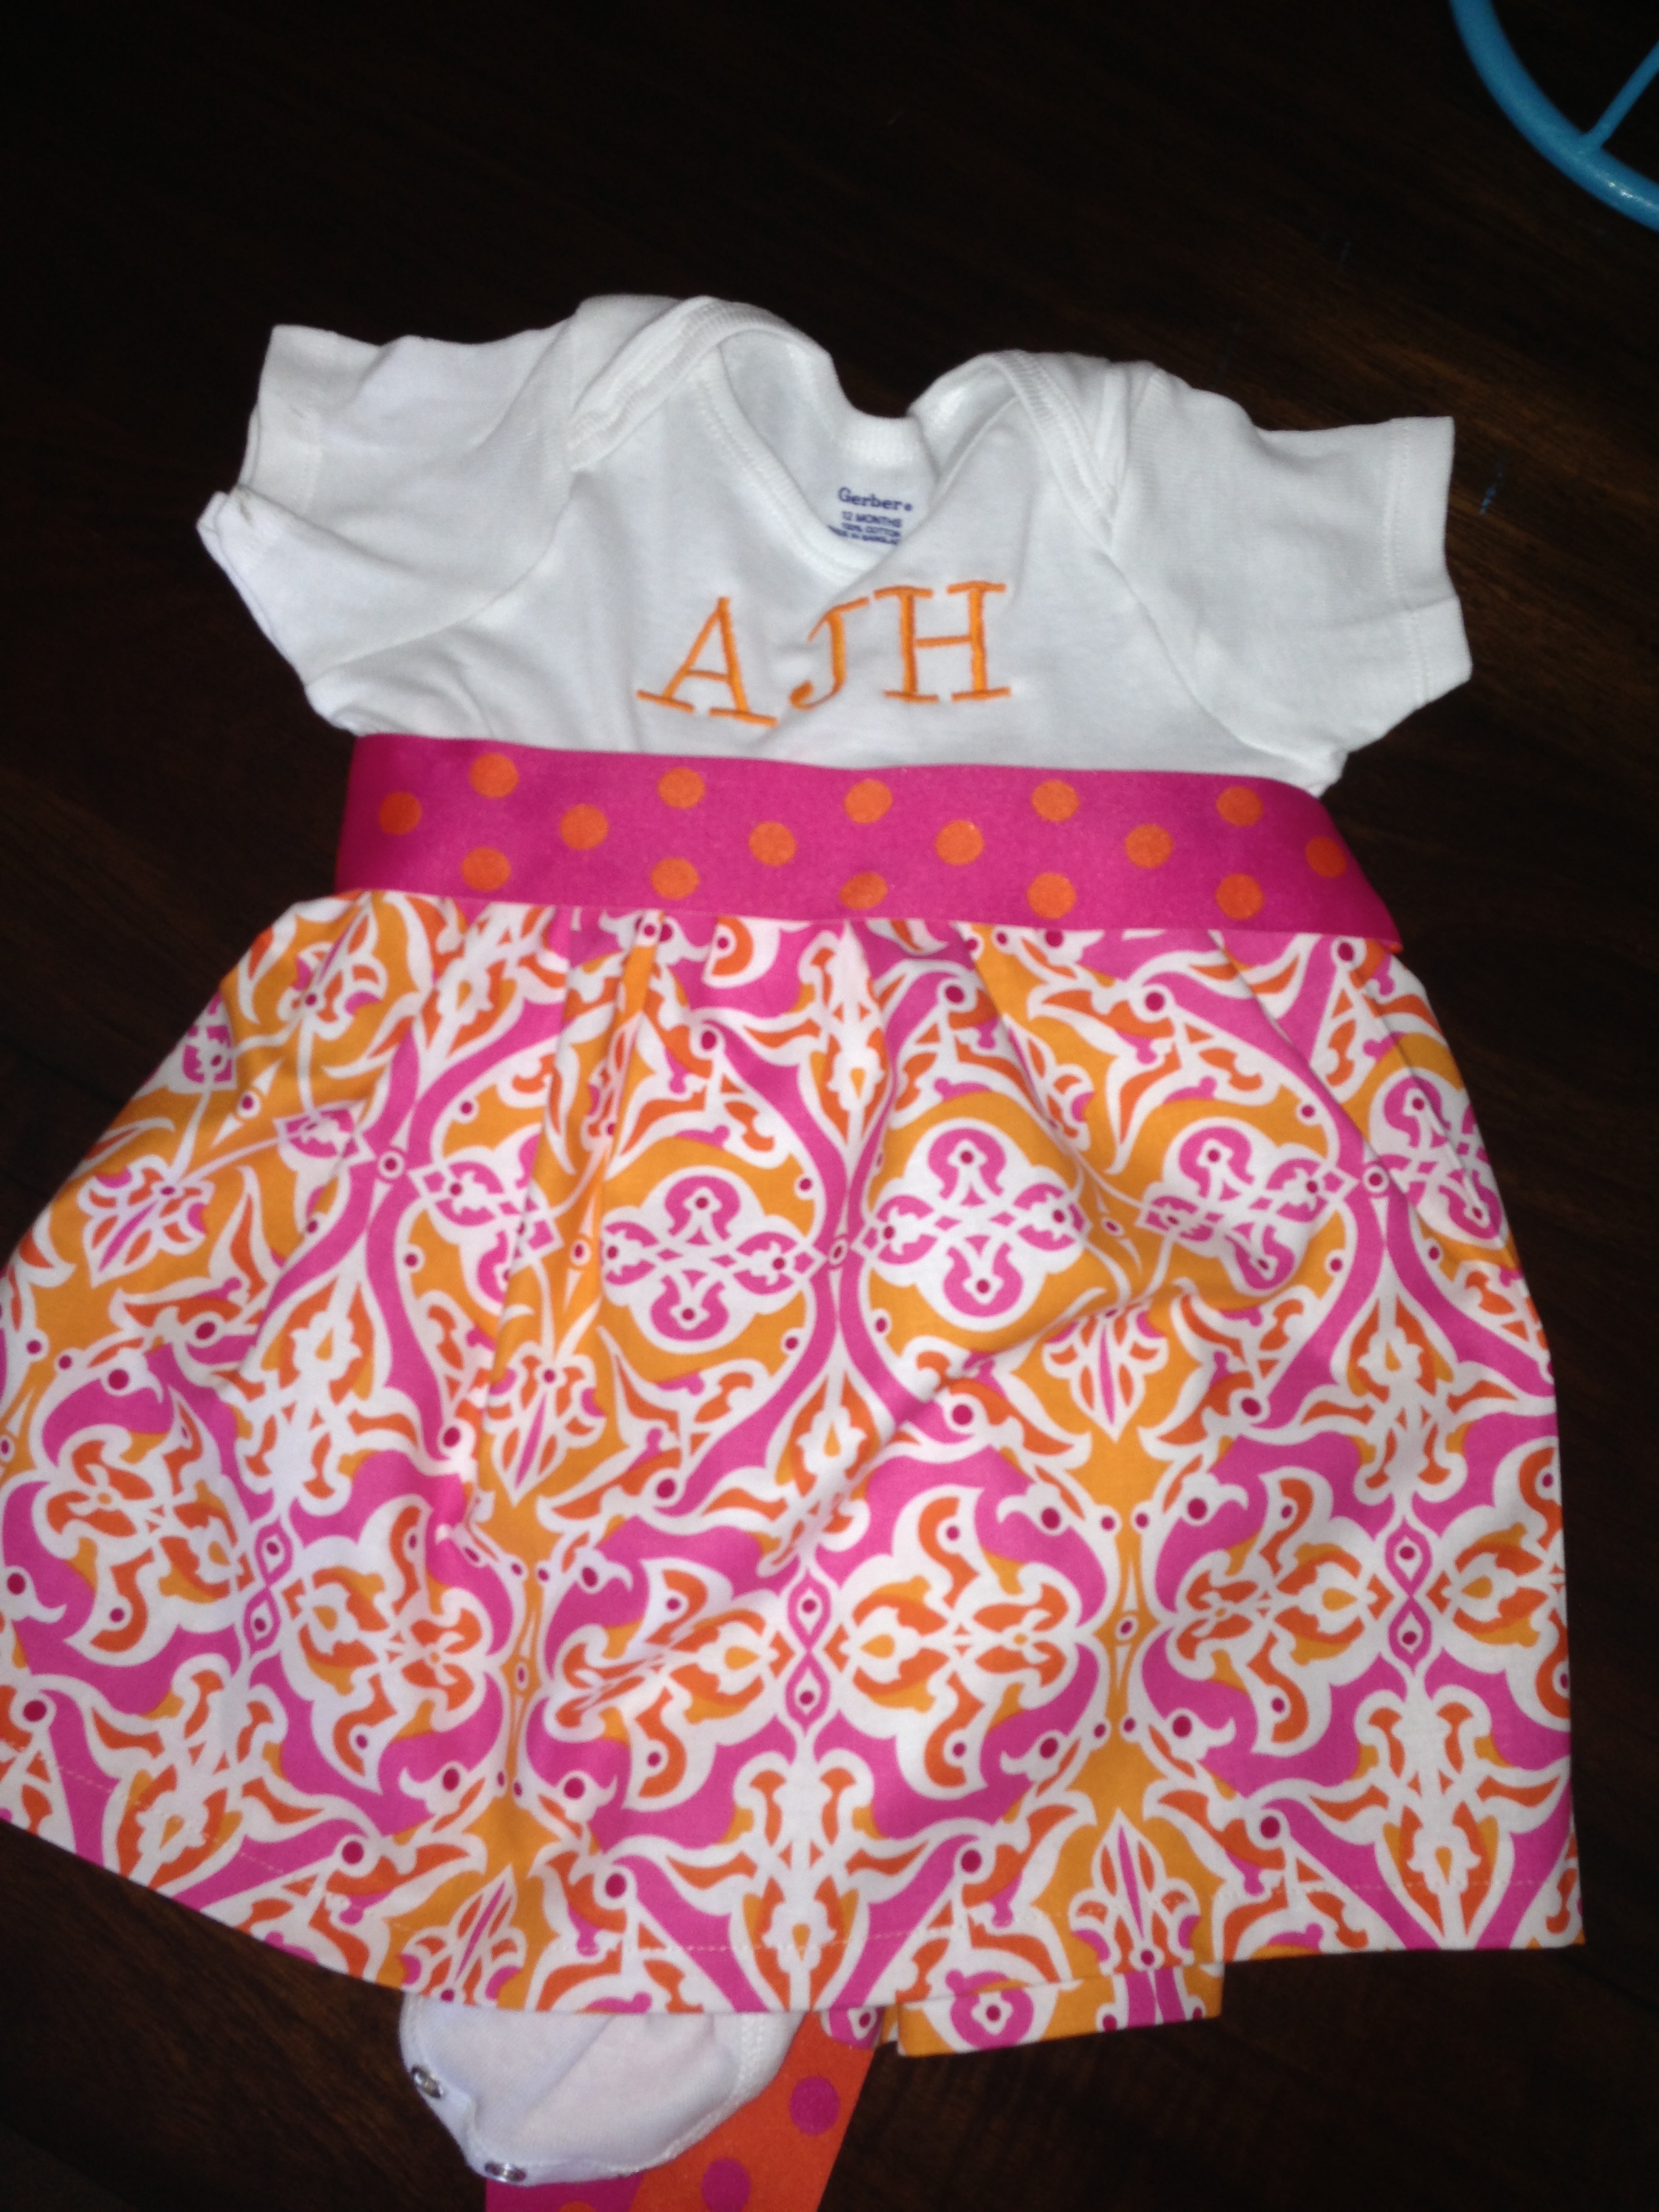
As Aunt Tessie’s challenge was two-fold, I still had to accomplish a sewing project! Inspired to create things for Belle, I started to brainstorm something I could do that would not be toooo difficult, but challenging enough to make me proud of myself. I decided to create a Onesie Dress. It’s pretty easy.
You start with a onesie and one other piece of fabric about 1/4 of a yard wide and a yard long. Run a single stitch through the top of it and gather it along the thread. Fold over a 1/4-1/2 inch hem at the bottom and stich that in place.
After you have gathered the waist line to about the width of the onesie, fold it in half and stitch along the seem to create a skirt. Keep the skirt inside out and slide it around the onesie, upside down. Position it about where you want the skirt to sit and pin in place. Stitch the skirt to the onesie and flip it right side out again.

Ta-daaaa!!!!

I may have done it a little bit higher than I intended so I hope it looks cute on Belle (Annabelle Jane Hayden – for those that were questioning the initials). I decided to add a ribbon for a final feminine touch!

Here it is hanging up! I’d say I didn’t do so bad for wingin’ it!


All in all, I am so grateful that Aunt Tessie made me do this. Lord knows how long it would have been before I finally sat down to use the thing. Now that I’m no longer intimidated by it, I can’t wait to make more stuff!
I owe you a HUGE thank you, Aunt Tess! You helped me rediscover something I once found so therapeutic and relaxing. I look forward to creating many new projects!!
Any requests??
P.S. John and Becky, tell Belle to act surprised when she opens these up next weekend…
